5 Ways To Transfer Files Between Macs [Quick Guide]
Before we dive in
Before we dive in, let's make sure you stay safe online. We created SpyHunter because your security matters to us.
Protect your computer today — download SpyHunter right here! Check out our top tips below to keep your computer safe and secure.
Ever found yourself needing to transfer files quickly between two Mac computers and not sure which method to use?
Whether you’re dealing with large video files, a bunch of photos, or just some documents, there are several fast and efficient ways to get the job done.
This guide will explore various methods such as AirDrop, Thunderbolt, Bluetooth, and more, each suited for different types of file sizes and situations.
What are the best methods to transfer files between two Macs?
When you need to move files between Mac computers quickly, several options stand out depending on your setup and requirements.
AirDrop offers cable-free convenience for smaller file sizes, while direct cable transfers, particularly through Thunderbolt, provide a high-speed solution for larger data volumes.
Additionally, Bluetooth can be beneficial for mid-range file sizes when Wi-Fi isn’t an option.
Method 1: Using AirDrop for instant file sharing
AirDrop is a quick and convenient way to transfer files between Macs without cables when both Macs are connected to the same network. It is usually a good option for files with a relatively small total file size.
To use AirDrop, follow these steps:
- Ensure both Macs are turned on and awake.
- Verify that Bluetooth and Wi-Fi are active on both devices and they are no further than 30 feet from each other.
- Open the
Finder, and hitCommand + Shift + Rto launchAirDrop. - Wait for the other Mac to appear in the
AirDropwindow, then drag files you want to share and drop them to the recipient’s icon. - On the receiving Mac, accept the incoming files.
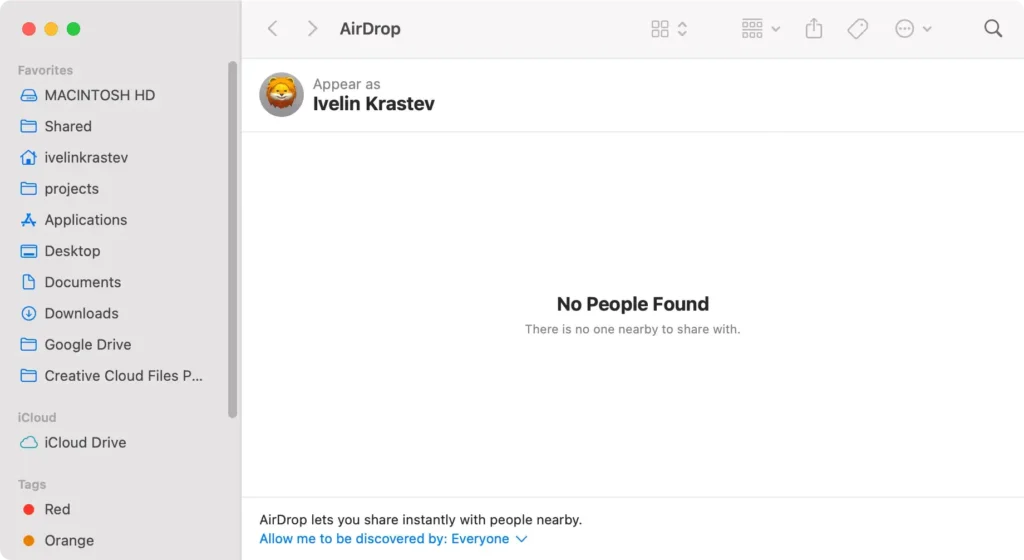
This method is particularly effective for quickly transferring small to medium-sized files such as documents and photos.
Method 2: Direct cable transfer using Target Disk Mode
A Thunderbolt cable is highly efficient for fast data transfers involving large files, such as video projects or entire system backups. Depending on the ports you have available, you can also use a traditional USB or USB-C cable.
If either Mac is running macOS 11 or later, a Thunderbolt cable is essential due to the operating system’s enhanced security features.
To set up a cable connection between two Macs for file transfer, follow these steps:
- Ensure both Macs are turned on and awake.
- On the computer that is going to receive the files, open the Apple menu, then go to
System Settings > General. - Select
Startup Diskin the right part of the window, then clickRestart in Target Disk Mode. If the Mac receiving the files is powered off, simply boot it while holding downTto start directly inTarget Disk Mode.

- Once the target Mac finishes booting up, the other computer will see the target as a new disk icon on the desktop.
- Simply open a
Finderwindow and drag the files you want onto the new disk icon, then wait for the transfer to complete. - Once you are done, use the power button on the target Mac to shut it down, then remove the cable.
This wired method significantly speeds up the transfer process compared to wireless methods, making it ideal for substantial data transfers.
Method 3: Wireless transfer via Bluetooth
If AirDrop isn’t available and you don’t have a suitable cable, Bluetooth provides a viable alternative for file transfer between Macs. Although slower than AirDrop and much slower than Thunderbolt, it can be useful in certain situations. To use Bluetooth for file transfers:
- Make sure Bluetooth is turned on on both devices under
System Settings > Bluetooth. - Open
Bluetooth File Exchange, found under theApplications > Utilitiesfolder. - Choose the file you want to share and click
Send. - Select a device from the list. If you’re using this to browse files on another Mac, by default, the shared folder should be the
Publicfolder inside theUsersfolder. - Double-click on any file to retrieve it to the other Mac.
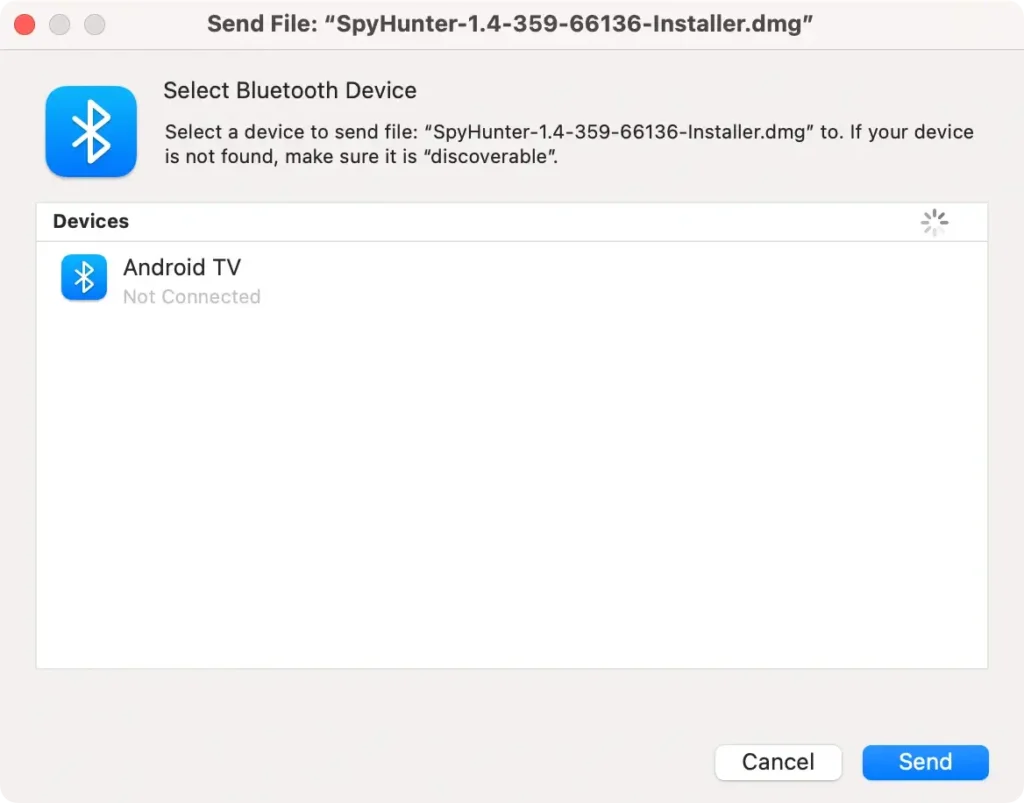
This method is advisable for non-urgent transfers of smaller files when other faster methods are unavailable.
Method 4: Use external storage
Using external storage devices like USB flash drives or external disk drives is an effective way to transfer files from one Mac to another.
Simply copy the files you want to transfer on the USB thumb drive or external hard drive, then connect it to the other Mac and transfer the files using Finder.
This method is particularly useful if you’re dealing with huge files or if you need a quick and reliable transfer without relying on internet connectivity.
External storage devices are also handy for keeping a backup copy of your important files.
Method 5: Use cloud services
A cloud storage service provides a seamless and efficient way to transfer files across different devices without the need for physical storage devices or complex network configurations.
They offer the flexibility to access and share files from anywhere, at any time, provided there is internet connectivity.
You can pick from a wide range of both free and paid cloud storage services, depending on your needs, including iCloud, Google Drive and OneDrive.
These services typically entail high levels of security to protect data during transfers and at rest and are very convenient when sharing files with people who are far away and no direct connection is possible.
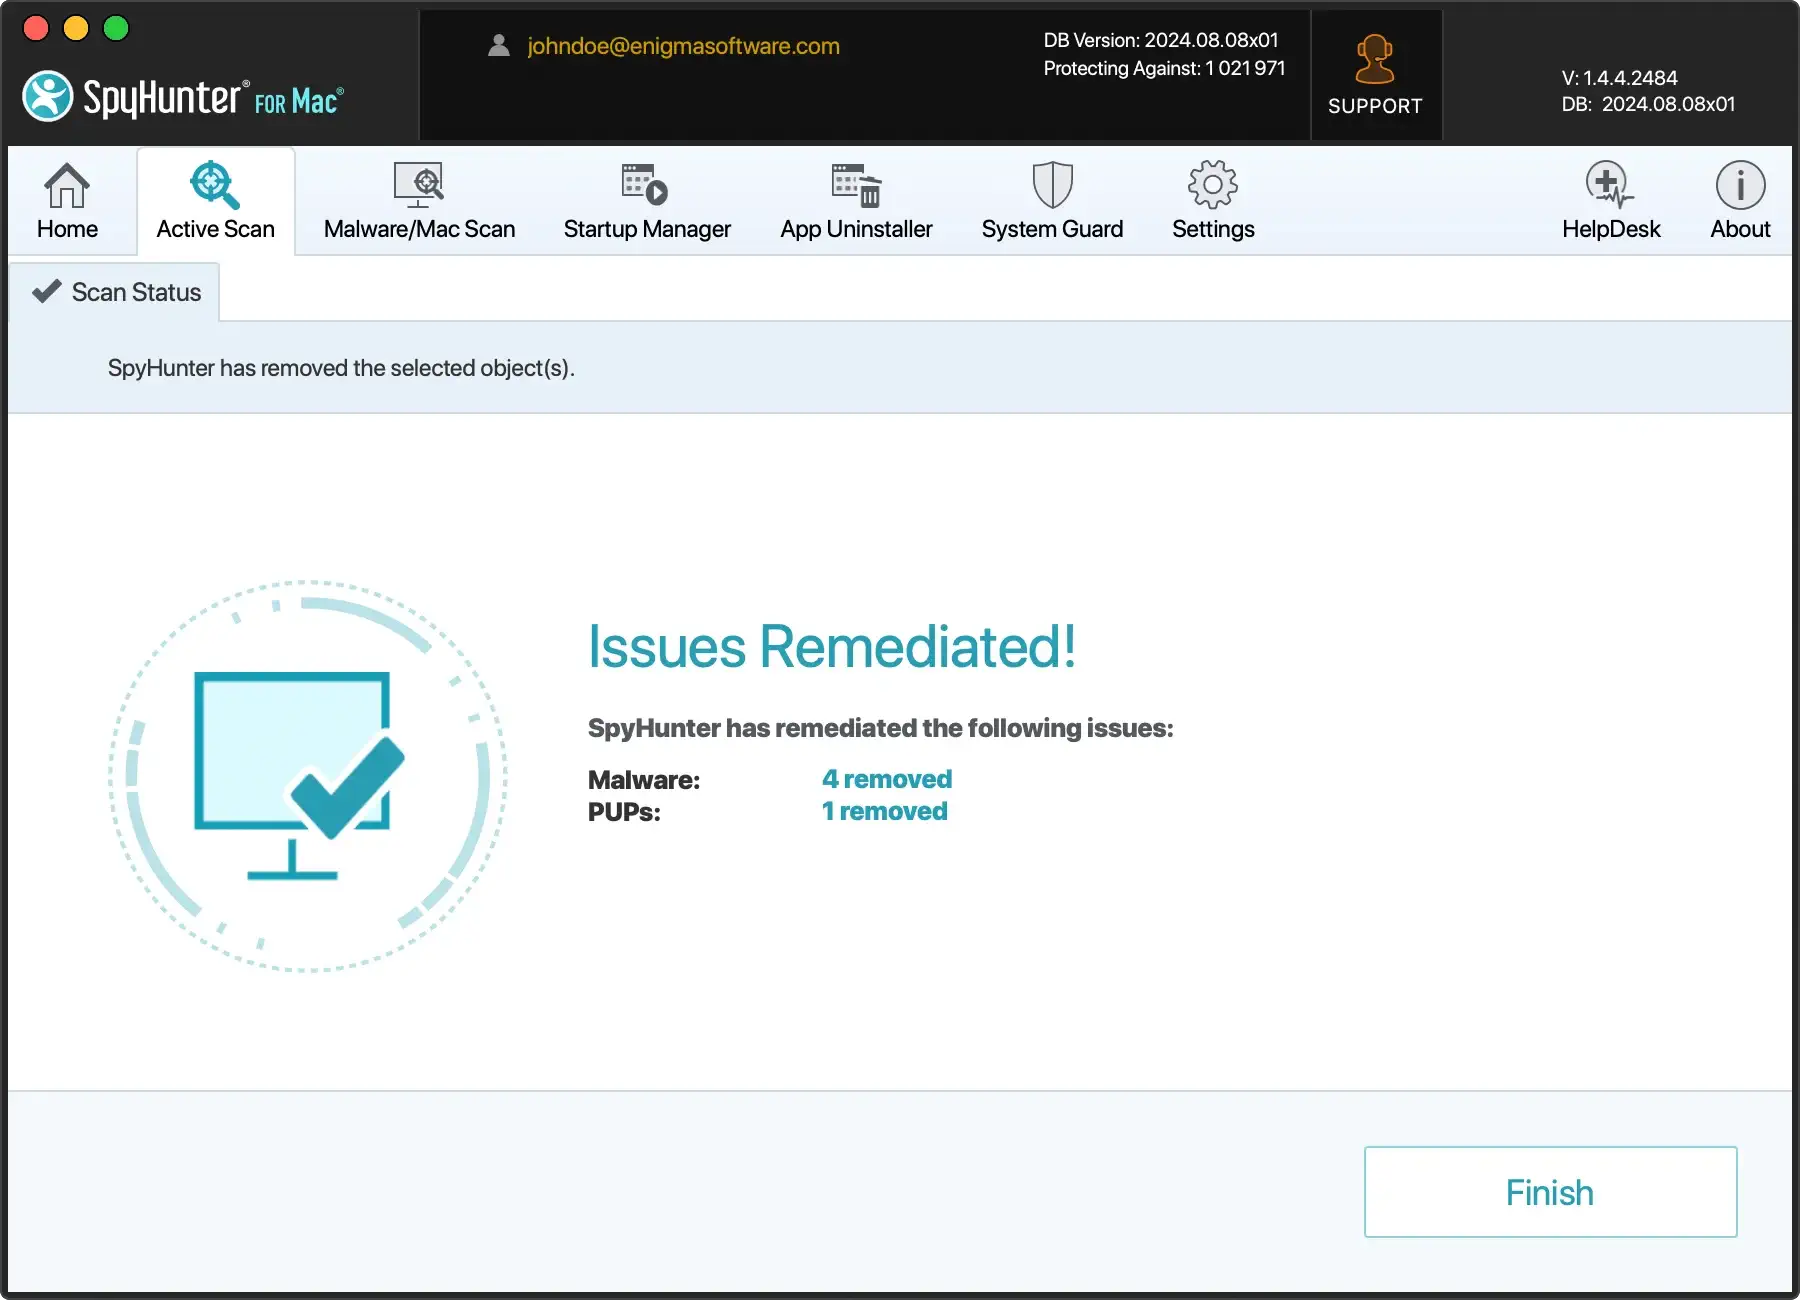
Ensure extra security when transferring files with SpyHunter
When you are transferring files from someone else’s computer to your Mac, it doesn’t hurt to have an extra layer of security and protection, in the form of a reliable anti-malware app like SpyHunter.
Download SpyHunter here and install it on your system if you are worried about potential malware in any files you share between computers.
SpyHunter can detect and remove malicious files and has a real-time guard that can catch and remove any threat or malicious file before it has a chance to deploy on your Mac.
Using a Time Machine backup to migrate computers
For Mac users, leveraging a Time Machine backup is an excellent choice for migrating a large amount of data, including system settings, applications, and files, to a new machine.
After creating a Time Machine backup on an external drive, connect this drive to your new Mac. Use the Migration Assistant tool found in the Utilities folder to transfer data.
This method is not only comprehensive but also preserves the integrity and hierarchy of your files and system settings.
Troubleshooting common issues in Mac file transfers
Transferring files between Macs can occasionally hit snags, such as slow transfer speeds or failed attempts.
To troubleshoot, start by ensuring both Macs are up to date with the latest macOS version. Outdated software can lead to compatibility problems.
Next, check the network settings if you’re using a network-based method like AirDrop or File Sharing. A simple reboot of both Macs and your router can resolve hidden network issues.
If problems persist, especially with large files, consider using cable-based methods like Thunderbolt or USB, which provide more stability and speed for substantial data transfers.
Solving connectivity problems during cable transfers
If you’re encountering connectivity issues during a cable transfer from one Mac to another using USB or Thunderbolt, first ensure that the cable is not damaged and is properly connected to both devices.
For transfers using Target Disk Mode, ensure both Macs support this feature and hold down the ‘T’ key during system start-up on the Mac being used as an external drive.
Always check that the proper filesystem permissions are in place to allow for file sharing and transfers.