How To Uninstall IntelliJ On Mac (Ultimate Guide)
Before we dive in
Trying to uninstall an app completely? SpyHunter for Mac includes an App Uninstaller that removes unwanted apps and their leftover files in just a few clicks.
Avoid clutter and save time — download SpyHunter right here and follow the steps to clean up your system.
Are you considering removing IntelliJ IDEA from your Mac but unsure where to start or why it might even be necessary?
Are you looking to free up disk space? Maybe you are considering other IDE solutions for your code or even switching to a language that is not JVM-based. Whatever the case, this article will help you uninstall IntelliJ in a clean and efficient way.
Why remove IntelliJ IDEA from your Mac?
Despite being a powerful and popular IDE for Java developers, there may come a time when the application no longer fits your needs or project requirements.
Here are a few potential reasons why you might consider uninstalling IntelliJ:
- Project Needs Have Changed: As projects evolve, they may no longer require the specific functionalities offered by IntelliJ IDEA, prompting a switch to an IDE that better suits the new requirements.
- Storage Space Concerns: IntelliJ IDEA, along with its cache and associated files, can consume a significant amount of disk space.
- Seeking Simplicity: Some users might find IntelliJ IDEA too complex for their needs and prefer an IDE that offers a more straightforward, less feature-dense environment.
- Migration to Another Development Environment: Transitioning to a different development environment more aligned with current project goals or personal preferences can lead to the removal of IntelliJ IDEA.

Regardless of the reason for uninstallation, it’s essential to do it correctly to prevent leftover files from cluttering your system. This ensures your Mac remains clean, efficient, and ready for whatever new tools or applications you decide to install.
Step-by-step guide to manually uninstall IntelliJ on Mac
If you opt for the manual uninstall route, you should make sure you do it properly and remove leftover files. Follow these steps to completely remove IntelliJ IDEA manually:
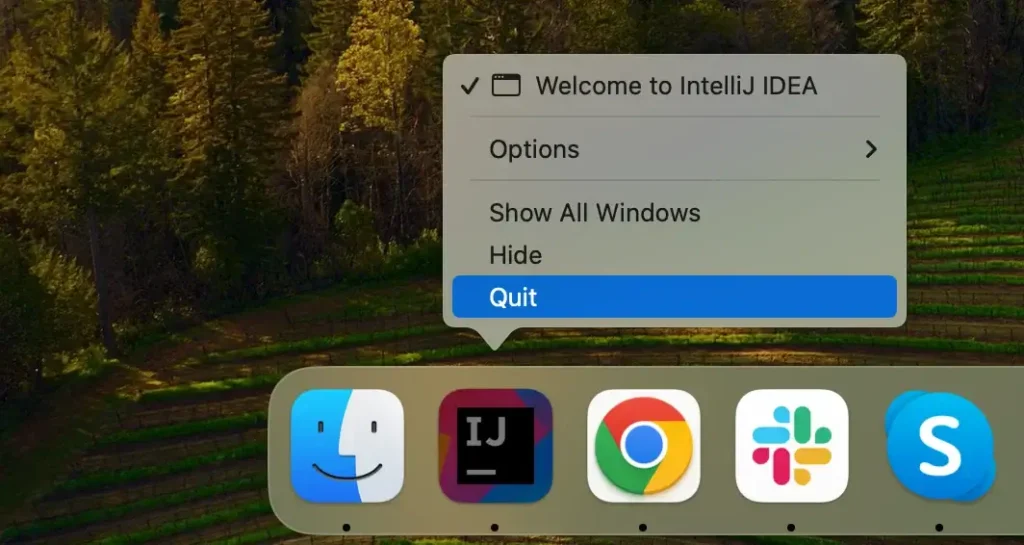
Step 1: Quit IntelliJ
Before you start the actual uninstall process, you should make sure the application is not running. This step is essential in ensuring a smooth removal.
Right-click the IntelliJ icon found in your Dock and select Quit in the context menu to stop the application’s process.
If IntelliJ is not responding, you can navigate to your Applications and Utilities, then launch the Activity Monitor app. Inside Activity Monitor look through the list of active processes and locate IntelliJ in it. Select the process and click the [X] button above the process list to terminate IntelliJ.
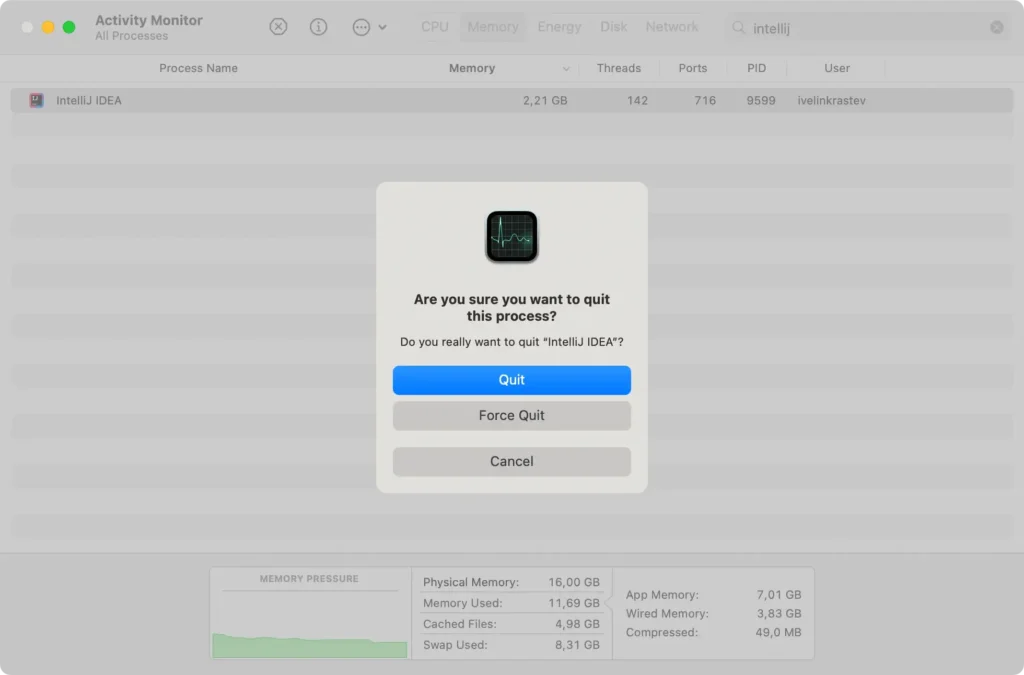
Confirm using the Force Quit button in the window that comes up. Completely shutting off the process will ensure that it does not interfere with the following steps.
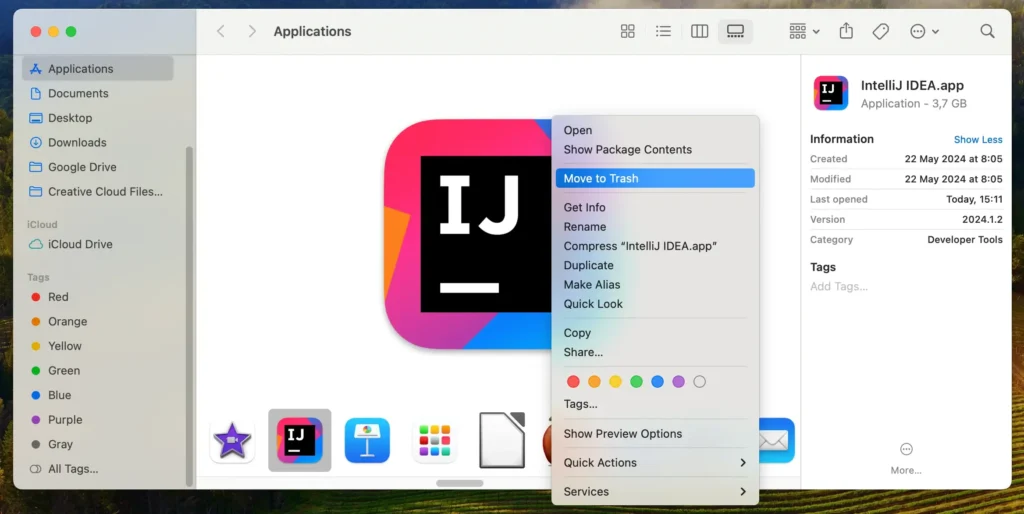
Step 2: Delete IntelliJ from Applications
The next step in the uninstallation process is to find IntelliJ IDEA within the Applications folder and remove it.
- Open the
Finderapplication on your Mac. - Navigate to the
Applicationsfolder. - Scroll through your installed applications and locate IntelliJ IDEA.
- Drag the IntelliJ IDEA icon to the
Trashor right-click on the application and selectMove to Trash. - Right-click and then empty your
Trashto completely remove the application. - Restart your Mac to finalize this step.
This action removes the main files of the IntelliJ IDEA application, but some associated service files will remain on your system.
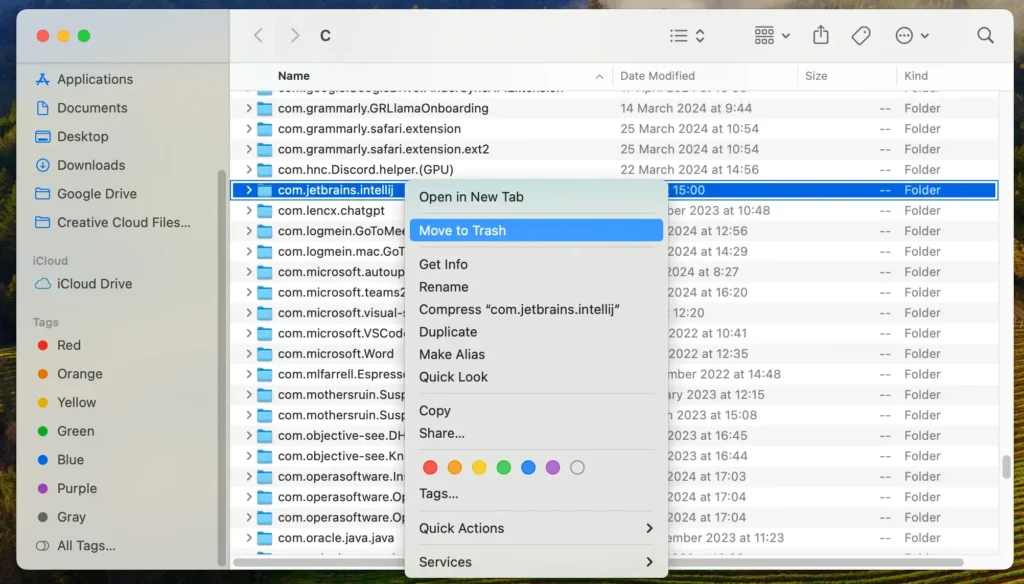
Step 3: Clean up IntelliJ IDEA configuration files
After you’ve deleted the application, the next step is to remove any leftover and configuration files. Here’s how to do this:
- Open
Finder, click on theGomenu at the top of the screen, then selectGo to Folder. - Enter the following directories in the
Go to Folderwindow text box one after the other:~/Library/Application Support/JetBrains/~/Library/Caches/JetBrains/~/Library/Preferences/JetBrains/~/Library/Logs/JetBrains/
- Delete all files you find inside those folders by dragging them into the
Trash. - Finally, empty the
Trashto completely remove the leftover files.
By eliminating these files, you’re ensuring that all your personal settings related to IntelliJ IDEA and any leftover files, caches and logs are removed from your Mac.
Completely uninstall IntelliJ from your Mac using SpyHunter
For an automated removal that will thoroughly uninstall IntelliJ IDEA from your system and will also deal with any leftover files for you, you can use SpyHunter’s App Uninstaller. Using a tool like SpyHunter means simplifying the process significantly and doing away with manually chasing down leftover files.
Follow these steps to uninstall IntelliJ with SpyHunter:
- Download SpyHunter and follow the installation instructions.
- Once installed, open SpyHunter and go to the
App Uninstallersection. SpyHunter will then scan and list all the applications on your Mac and their respective related files. - Find IntelliJ IDEA in this list. SpyHunter will show all the files connected to IntelliJ. Select the app and all its associated files to ensure everything is targeted for removal.

- Click the
Remove Selectedbutton to confirm the deletion of IntelliJ IDEA and its files. - After the automatic removal process finishes, restart your Mac to complete the cleanup.
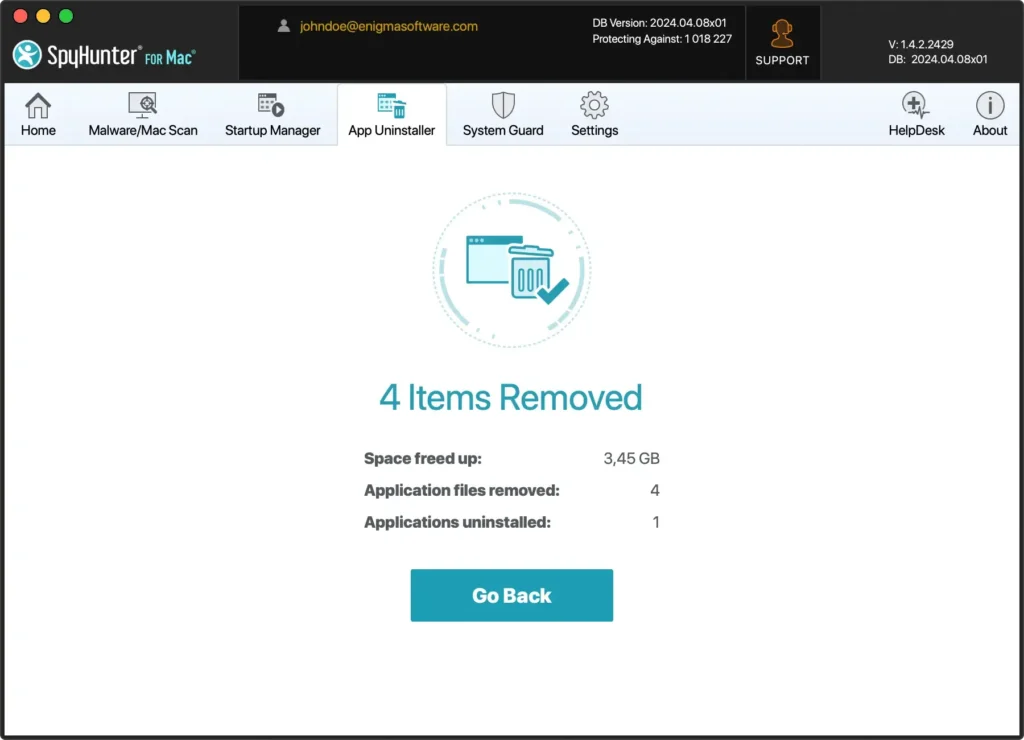
Using SpyHunter makes uninstalling IntelliJ simple and ensures no leftover files remain, which could otherwise impact your Mac’s efficiency and take up disk space.
Conclusion
Well done! You have just completed the full uninstallation process and have completely removed IntelliJ IDEA from your system.
Whether you used the manual approach or chose to do it using SpyHunter and its App Uninstall module, the end result is a significant amount of reclaimed disk space and no unneeded leftover files.
Maintaining a clean system is one of the main steps to ensuring the longevity and good performance of your macOS without the need for a complete reinstall.
If you are interested in further information or want to uninstall other apps from your Mac as well, we have a guide on the general uninstall process on Mac that you can check out.