How To Uninstall Dropbox From Mac (Complete Guide)
Before we dive in
Trying to uninstall an app completely? SpyHunter for Mac includes an App Uninstaller that removes unwanted apps and their leftover files in just a few clicks.
Avoid clutter and save time — download SpyHunter right here and follow the steps to clean up your system.
Uninstalling Dropbox from your Mac can be straightforward, whether you’re looking to free up space, resolve an issue, or simply no longer need the application.
This article will walk you through manual and automated methods for completely removing Dropbox and all its related files from your system.
Dive into the specifics of each approach and choose the one that best suits your needs for a cleaner, more organized Mac environment.
Why uninstall Dropbox from your Mac
Dropbox has evolved beyond simple cloud storage, integrating tools like Google Docs and Slack. This shift might not suit most users seeking essential file storage.
Uninstalling Dropbox from your Mac might be worth considering for several reasons:
- Interruptions from frequent upgrade notifications.
- Preference for more straightforward or different cloud storage solutions.
- The complexity of the app causes clutter or slows down your Mac.
Removing Dropbox can help streamline your workspace and customize your cloud storage to your needs.
Completely uninstall Dropbox with SpyHunter
Removing Dropbox from your Mac ensures a tidy digital workspace and optimizes your system’s performance.
For a thorough removal, consider using SpyHunter’s App Uninstaller. SpyHunter streamlines the process, targeting not just the Dropbox application but any lingering files or settings, including the main Dropbox folder and its associated data.
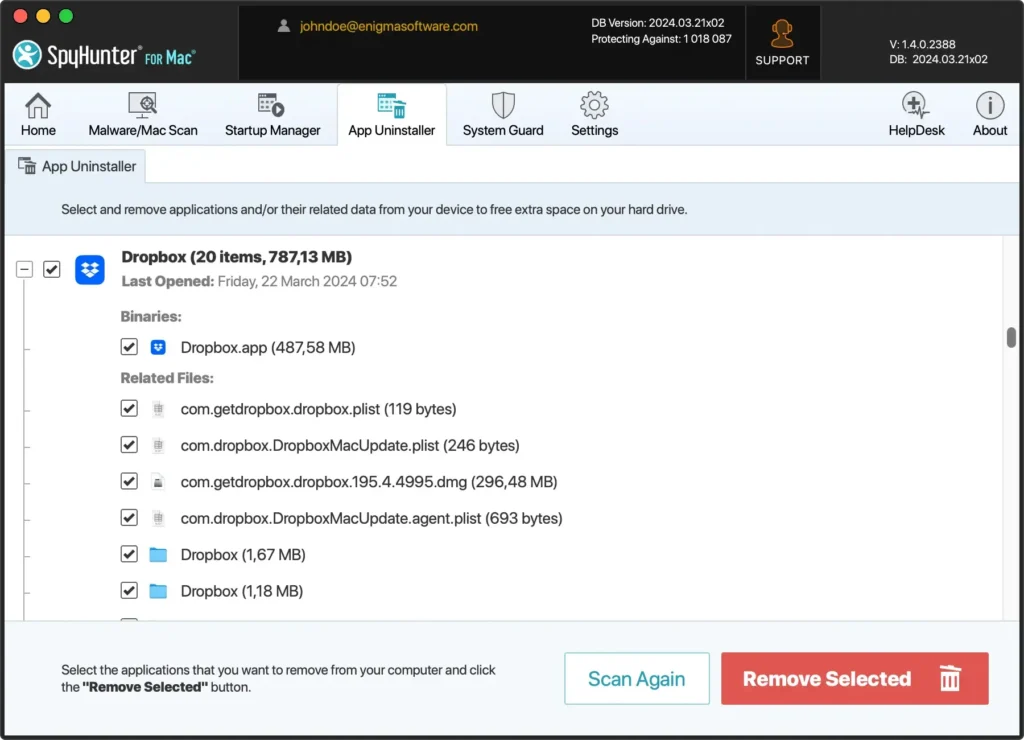
- Download SpyHunter for free here and install it on your Mac.
- Launch SpyHunter and navigate to the App Uninstaller tab.
- Find Dropbox in the list of applications and select it for removal.
- Follow the on-screen instructions to complete the uninstallation process.
SpyHunter’s advanced scanning ensures that all Dropbox-related files are identified and removed.
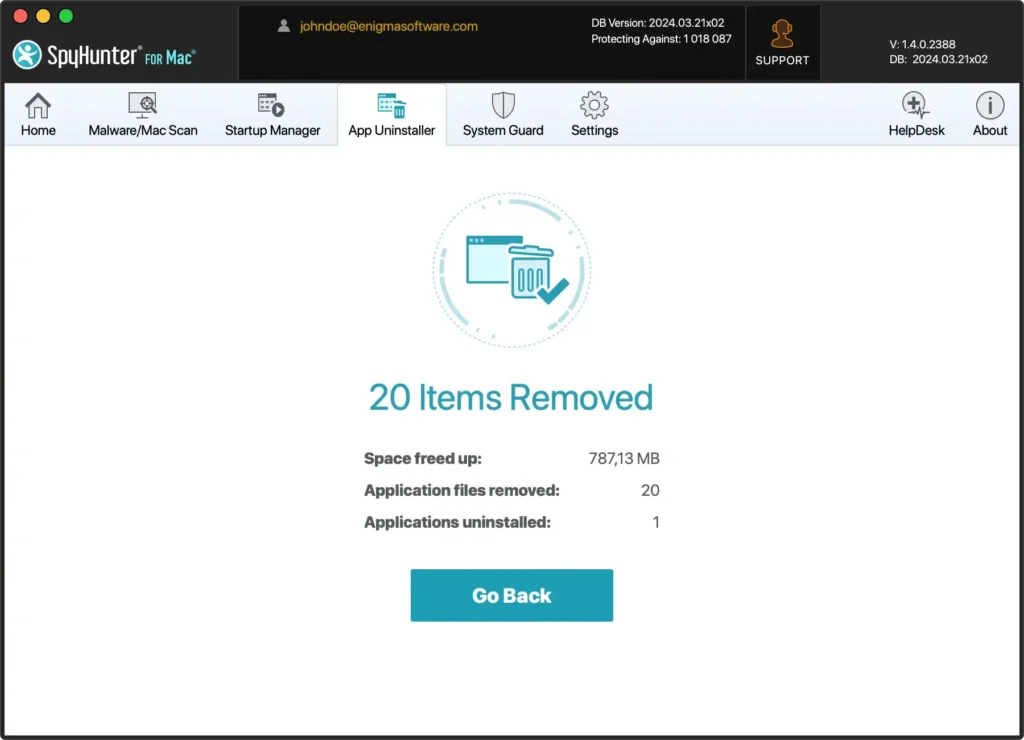
This method deletes the Dropbox app and clears residual data from your hard drive, freeing up disk space and eliminating potential conflicts.
By choosing SpyHunter to uninstall an app, you benefit from a comprehensive clean-up, leaving your Mac optimized and free from unnecessary clutter.
Manually uninstall Dropbox from your Mac
Deleting Dropbox from your Mac can be straightforward if you know the proper steps. This section will guide you through the process, ensuring you can confidently and completely remove Dropbox and its associated files from your system.
Let’s dive into the manual removal process to clear Dropbox from your Mac.
Step 1: Quit Dropbox
Ensure that the Dropbox application is not running on your Mac before proceeding with the uninstallation process.
This step prevents any issues related to files being used during the removal process. Here’s how to quit Dropbox properly:
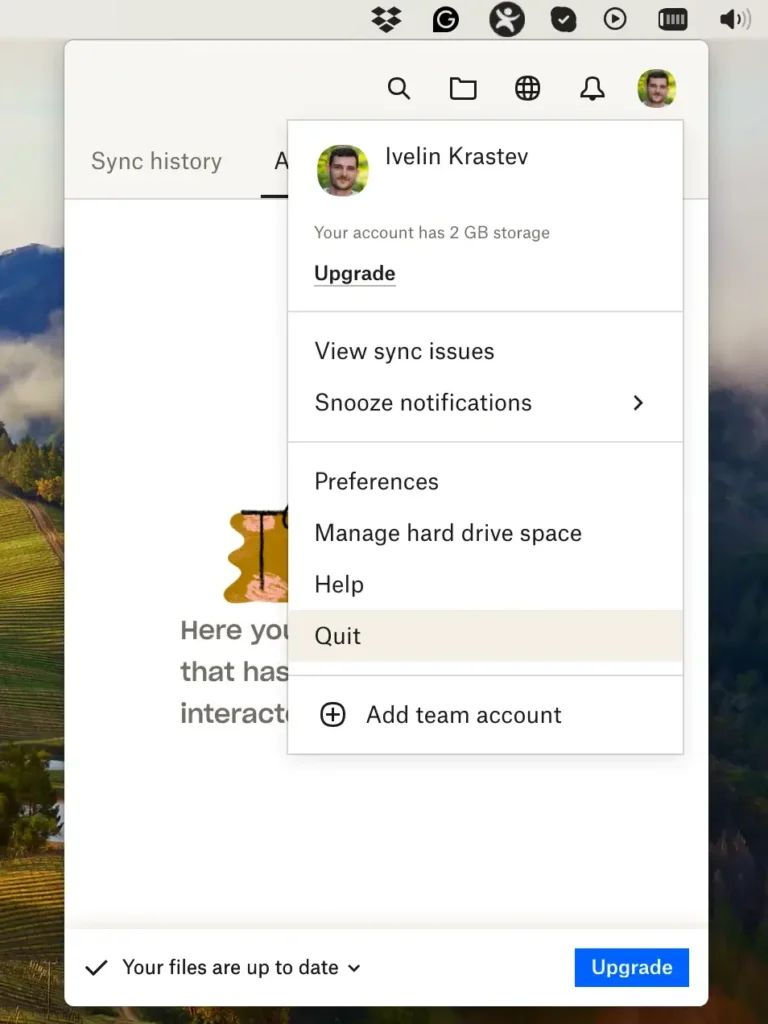
Quit from the Dropbox contextual menu:
- Click the Dropbox icon in the top menu bar.
- Click your profile picture or initials.
- Click
Quitin the Dropbox contextual menu.
Quit Dropbox through Activity Monitor:
- Open
Activity Monitorfrom theApplications > Utilitiesfolder. - Search for the Dropbox processes.
- Select the pinpointed processes and click the [X] button at the top of the window to quit the process.

Ensure that Dropbox has completely shut down before moving on to the next steps in the uninstallation process. This simple action facilitates a smoother removal of Dropbox from your Mac.
Step 2: Remove Dropbox app
Once Dropbox no longer runs on your Mac, you should delete the application. This action will remove the main Dropbox app but may not eliminate all associated data.
Here’s how to manually uninstall Dropbox desktop app:
- Open Finder:
- Click on the Finder icon in your Dock to open a new Finder window.
- Navigate to the Applications Folder:
- In the Finder sidebar, click
Applicationsto view all the apps installed on your Mac.
- In the Finder sidebar, click
- Locate Dropbox:
- Scroll through your applications or use the search bar at the top right corner to find Dropbox.
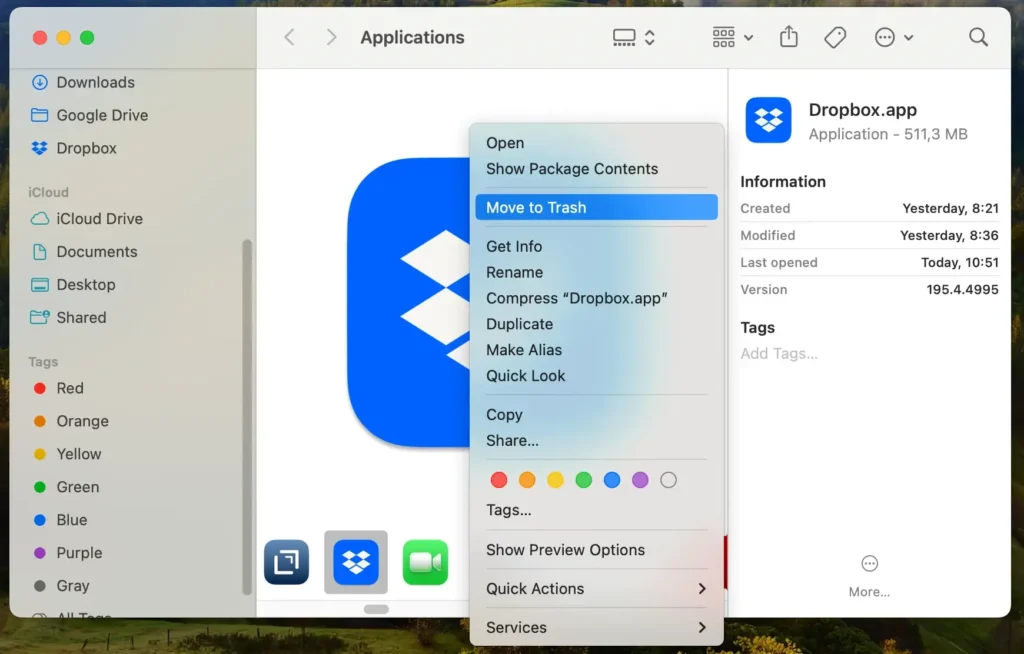
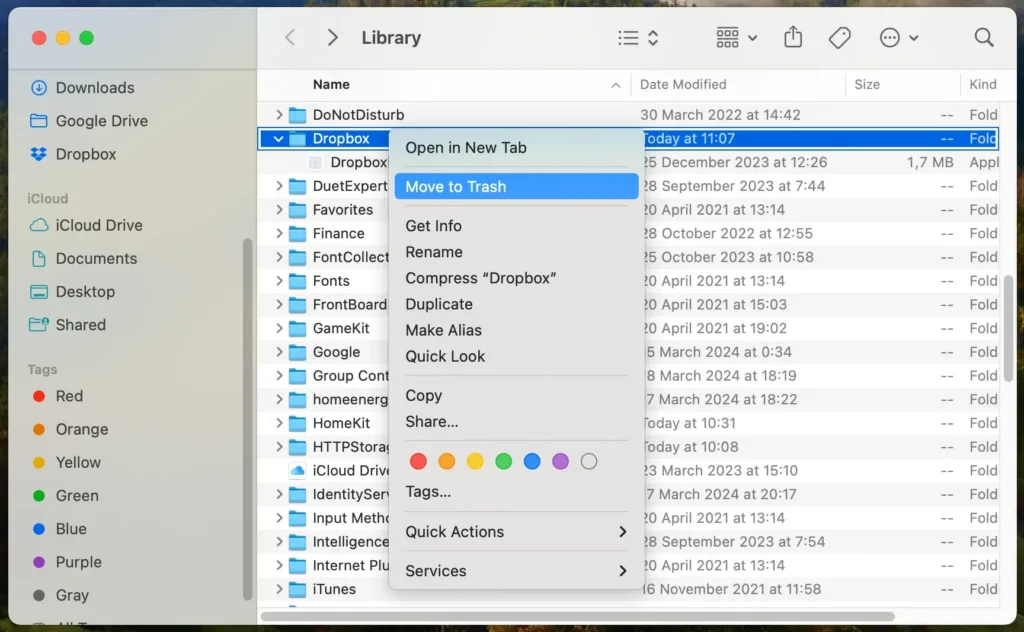
- Move the app to the Trash:
- Right-click (or control-click) the Dropbox icon and select
Move to Trashfrom the contextual menu. - You can also drag the Dropbox icon in the Trash can in your Dock.
- Right-click (or control-click) the Dropbox icon and select
Uninstalling the app alone may not remove all Dropbox-related data, such as cached files or settings, from your Mac.
Please continue with the following steps to ensure the complete removal of Dropbox and its remnants.
Step 3: Delete Dropbox service files
After uninstalling the Dropbox application, removing its service files and folders is essential to ensure a complete uninstallation.
These files might include preferences, caches, and support documents that were not removed from the app.
Here’s how to locate and delete these files:
- Click on Finder in your Dock to open a Finder window, and click on
Goin the menu bar at the top of the screen. Then, hold down theOptionkey and click onLibrary, which will appear in the drop-down menu. Alternatively, you can use theGo to Folderfeature of the Finder. - Within the Library, look for and open the following directories:
/Library/LaunchDaemons//Library/StartupItems/~/Library/Application Support/~/Library/Preferences/~/Library/Caches/~/Library/LaunchAgents/~/Library/PreferencePanes/~/Downloads/
- Within each of these directories, search for anything associated with Dropbox. Right-click any Dropbox files that you find and choose
Move to Trashfrom the dropdown. - Finalize the removal by right-clicking on the Trash can in your Dock and selecting
Empty Trashfrom the menu. Confirm the action if prompted.
Delete system files with caution. If you’re unsure about a file, it’s better to leave it untouched to avoid accidentally removing critical system data.
These steps will help remove Dropbox and all its associated data from your Mac. After completing these steps, restart your Mac to ensure all changes take effect.
Dropbox uninstallation FAQs
How to remove Dropbox without deleting files?
To remove the Dropbox desktop app from your Mac without removing any files, disconnect your Dropbox account by going to the app, clicking on your profile picture or initials, and selecting Preferences.
From there, navigate to the Account tab and click ‘Unlink This Dropbox…’ This action ensures that your data remains safe in the cloud after you uninstall the app.
You can then uninstall Dropbox from your Applications folder.
What happens if I remove the Dropbox folder?
Removing the Dropbox folder from your hard drive will also remove these files from Dropbox’s cloud servers due to the synchronization process.
To keep files in the cloud while removing them locally, use the Dropbox website to manage your data directly. This ensures they remain accessible online even after the folder is deleted from your computer.
Why is Dropbox so slow?
Dropbox’s performance can be affected by several factors, with internet connection stability being a primary concern.
Additionally, syncing a large volume or encountering software conflicts with macOS can contribute to slowdowns.
Ensuring a stable internet connection, updating to the latest version of Dropbox and macOS, and periodically clearing your Dropbox cache can help improve speed and efficiency.
Final thoughts
Following this article to uninstalling Dropbox, you’ve taken a significant step toward optimizing your Mac.
Whether you choose manual steps or leverage tools like SpyHunter for a hassle-free process, you ensure that no leftover files clutter your system.
Removing Dropbox on your Mac is just the start. It’s an opportunity to rethink your digital space, making it more efficient and tailored to your needs.