How To Fix macOS Sequoia Spotlight Bug (Quickly)
Before we dive in
Before we dive in, let's make sure you stay safe online. We created SpyHunter because your security matters to us.
Protect your computer today — download SpyHunter right here! Check out our top tips below to keep your computer safe and secure.
If you’ve noticed that Spotlight isn’t working properly after updating to macOS Sequoia, you’re not alone.
Many Mac users have encountered the Spotlight bug, which can affect search accuracy, slow down indexing, or even cause excessive storage use on your Mac’s hard drive.
This post will walk you through how to identify and fix issues that cause macOS Sequoia to fail to show results, consume too much system data, or cause other unexpected problems.
With a few tweaks in your settings, you can get Spotlight back on track in no time.
Read on to learn the best ways to resolve any issues with Spotlight on macOS Sequoia.
What causes Spotlight issues on macOS Sequoia?
The macOS Sequoia Spotlight bug is typically caused by several common issues that affect the indexing process, which Spotlight uses to organize files for quick searches.
When this process encounters problems, Spotlight might become slow, return incorrect results, or stop working altogether.
Here are the most common reasons for the Spotlight bug in macOS Sequoia:
- Corrupted index folders
- Software conflicts
- Excessive system resource usage
- Issues introduced by macOS Sequoia updates
These factors can disrupt Spotlight’s function, often leading to further macOS Sequoia issues. Identifying the root cause is critical to applying the proper fix.
Heads-up: If you’re experiencing other macOS Sequoia problems, check out our guide for more solutions.
How to fix the macOS Sequoia Spotlight bug?
Spotlight issues can be frustrating, but there are several effective ways to resolve them. Here are the best methods to resolve the Spotlight bug in macOS Sequoia:
Fix 1: Delete the Spotlight index folders
If the macOS Sequoia Spotlight is bloating system data, removing the hidden Spotlight index folders can help resolve this.
Follow these steps to clear the index files and free up space:
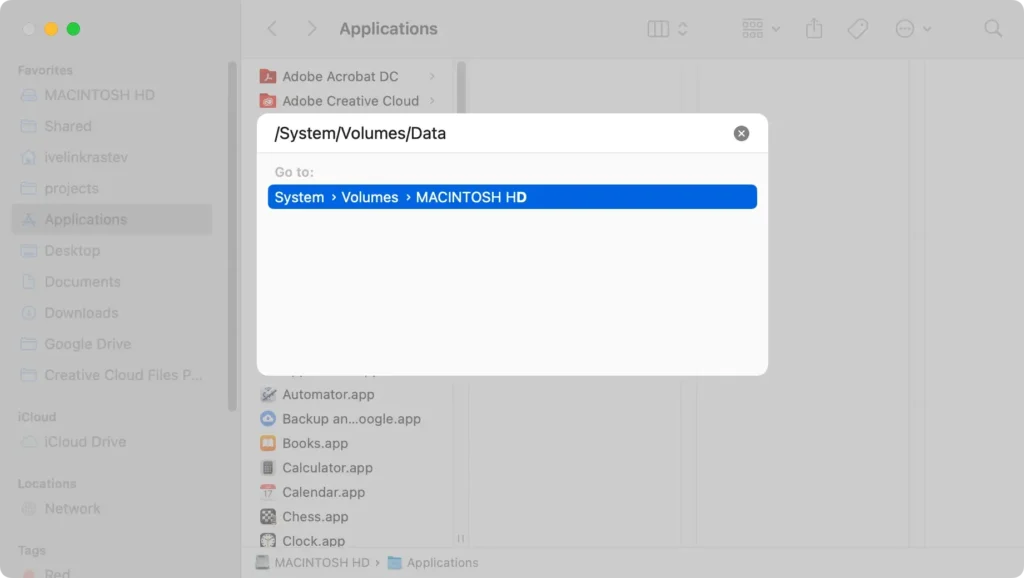
- Open
Finder. - Click
Go > Go to Folderfrom the menu bar. - In the search box, type
/System/Volumes/Data/and pressReturn.
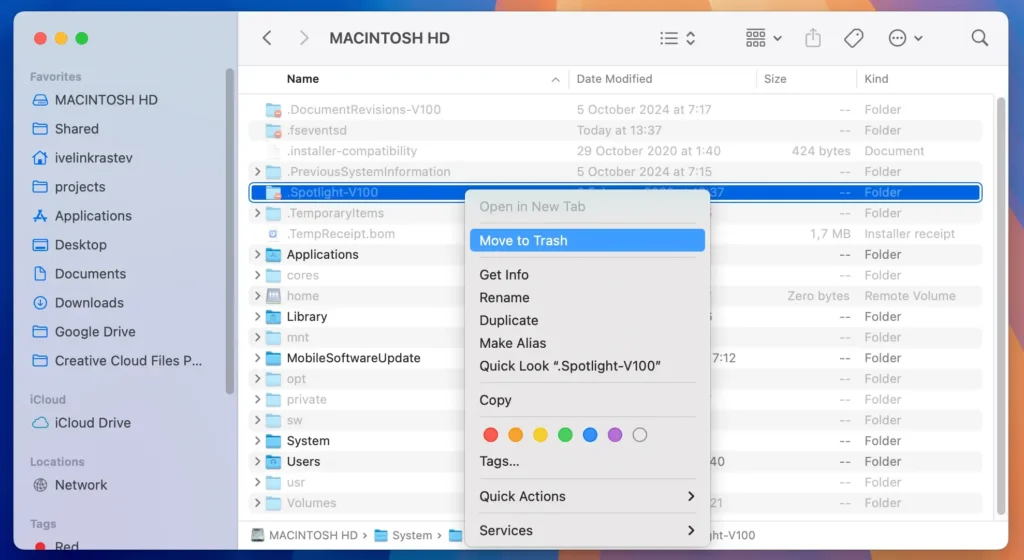
- Press
Command + Shift + .to reveal hidden files. - Locate the Spotlight folder (e.g.,
.Spotlight-V100), right-click it, and move it toTrash.
- Next, go to
Go > Go to Folderagain and type~/Library/Metadata/.
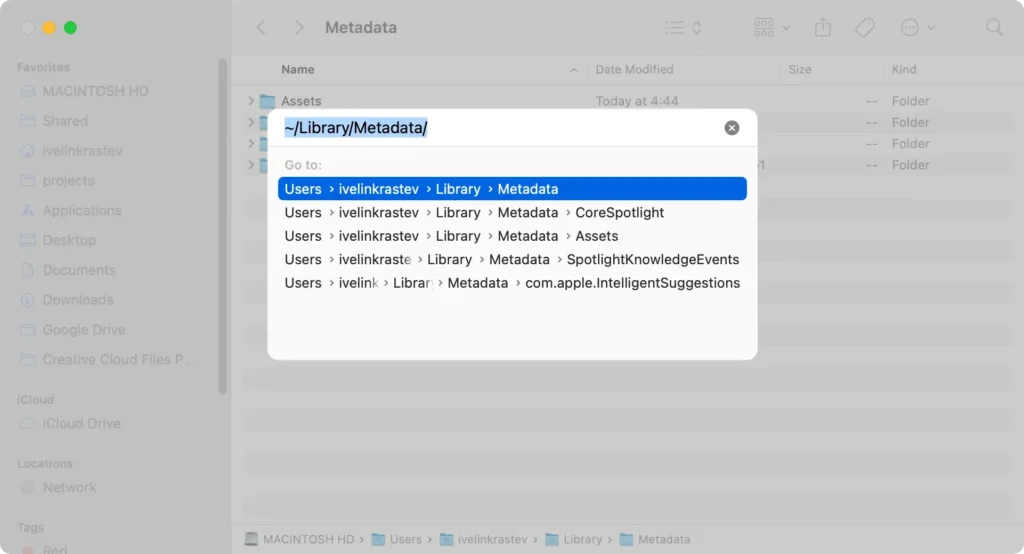
- Delete the
CoreSpotlightfolder.

- Empty the
Trashto remove the directories permanently.
By clearing these Spotlight folders, you’ll force Spotlight to reindex from scratch, which often resolves any Spotlight issues. This method also helps reduce excessive system data consumption.
Fix 2: Prevent Spotlight from indexing the internal disk
To stop Spotlight from running into problems with indexing your internal disk, you can prevent it from indexing the Macintosh HD entirely.
Here’s how to do it:
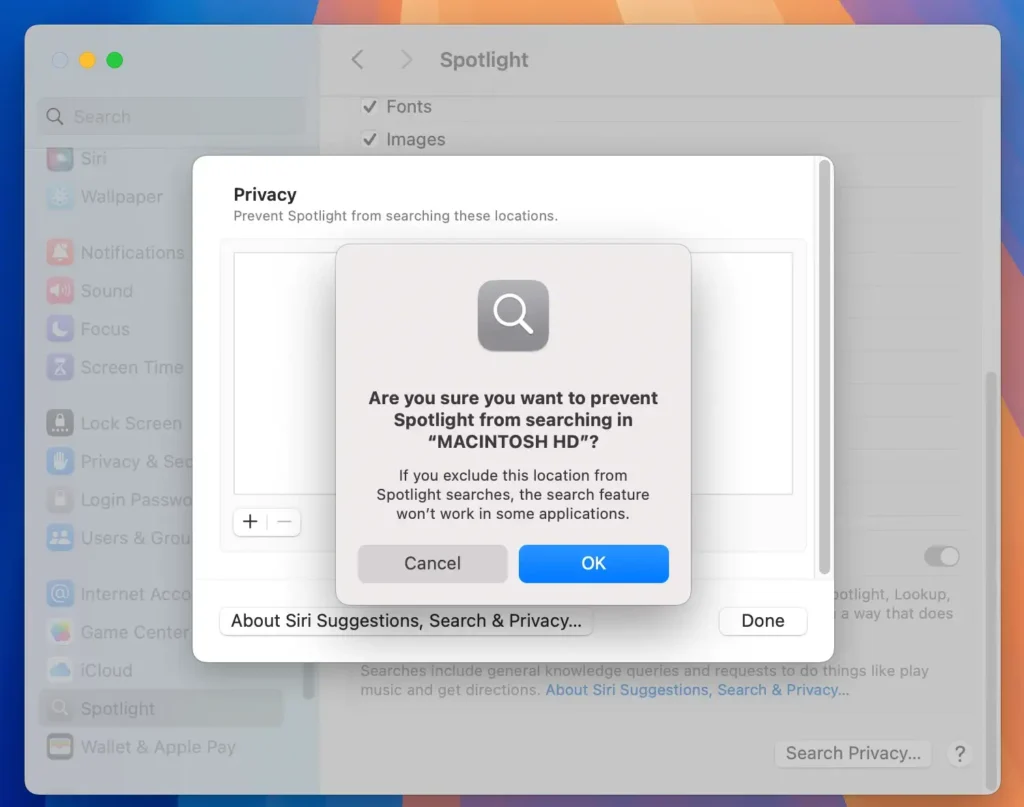
- Open
System Settings. - Navigate to
Spotlightand clickSearch Privacy. - Drag the Macintosh HD icon from Finder into the privacy list.
- Confirm that you want to exclude your internal drive from Spotlight indexing.
- To re-enable Spotlight on your hard drive in the future, select the Macintosh HD from the privacy list and click the (-) button.
This will prevent Spotlight from indexing your internal drive, which can help resolve indexing issues while also preserving your SSD.
Fix 3: Turn off Spotlight indexing entirely
As a final resort, you can temporarily disable Spotlight until a following Sequoia update fixes any bugs.
Disabling Spotlight can help mitigate the risk of rapid SSD wear and improve overall system performance.
Here’s how to do it:
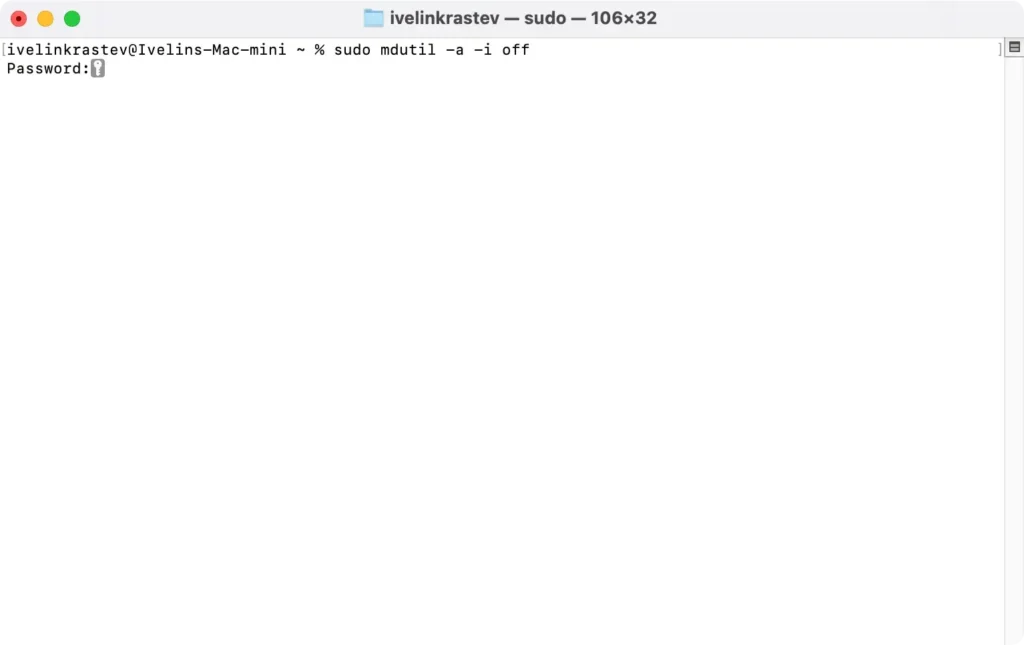
- Open
TerminalfromApplications > Utilities. - Type the following command and press
Returnto disable Spotlight indexing for all volumes:sudo mdutil -a -i off - Enter your admin password when prompted.
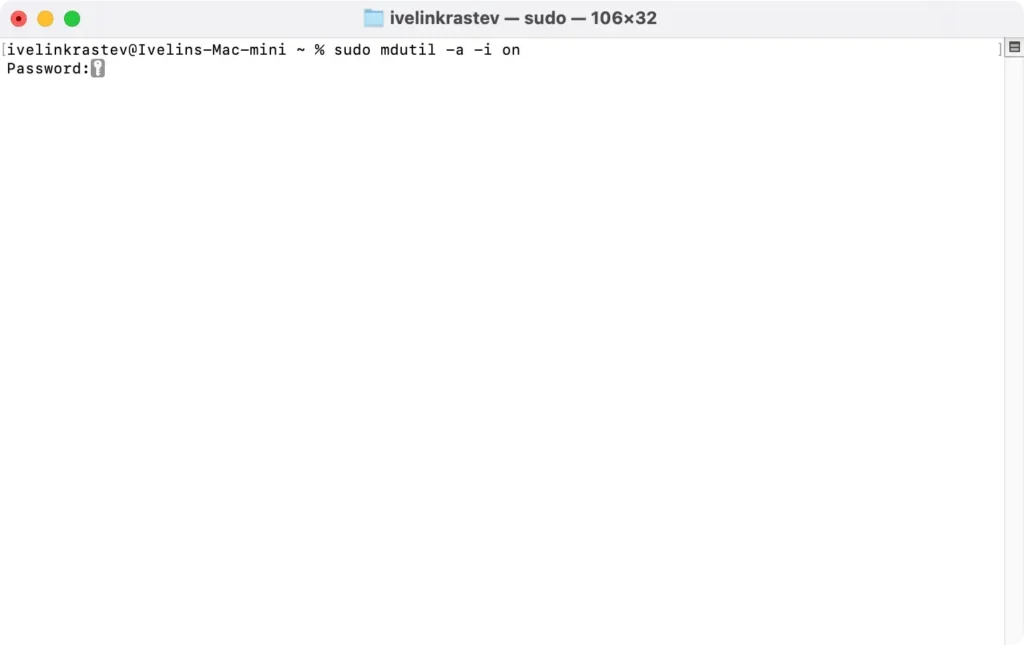
If Apple addresses any macOS Sequoia bugs in a future Sequoia update, you can re-enable indexing by running the following command in Terminal: sudo mdutil -a -i on
Turning off Spotlight entirely stops it from consuming your Macs’ resources, but keep in mind that disabling it will limit your ability to search files via its search bar.
Resolve storage overuse by Spotlight in macOS Sequoia
In some cases, Spotlight’s indexing process can lead to storage overuse or an abnormal increase in system data. This is particularly frustrating for users with limited disk space.
Here’s how to address the storage issue:
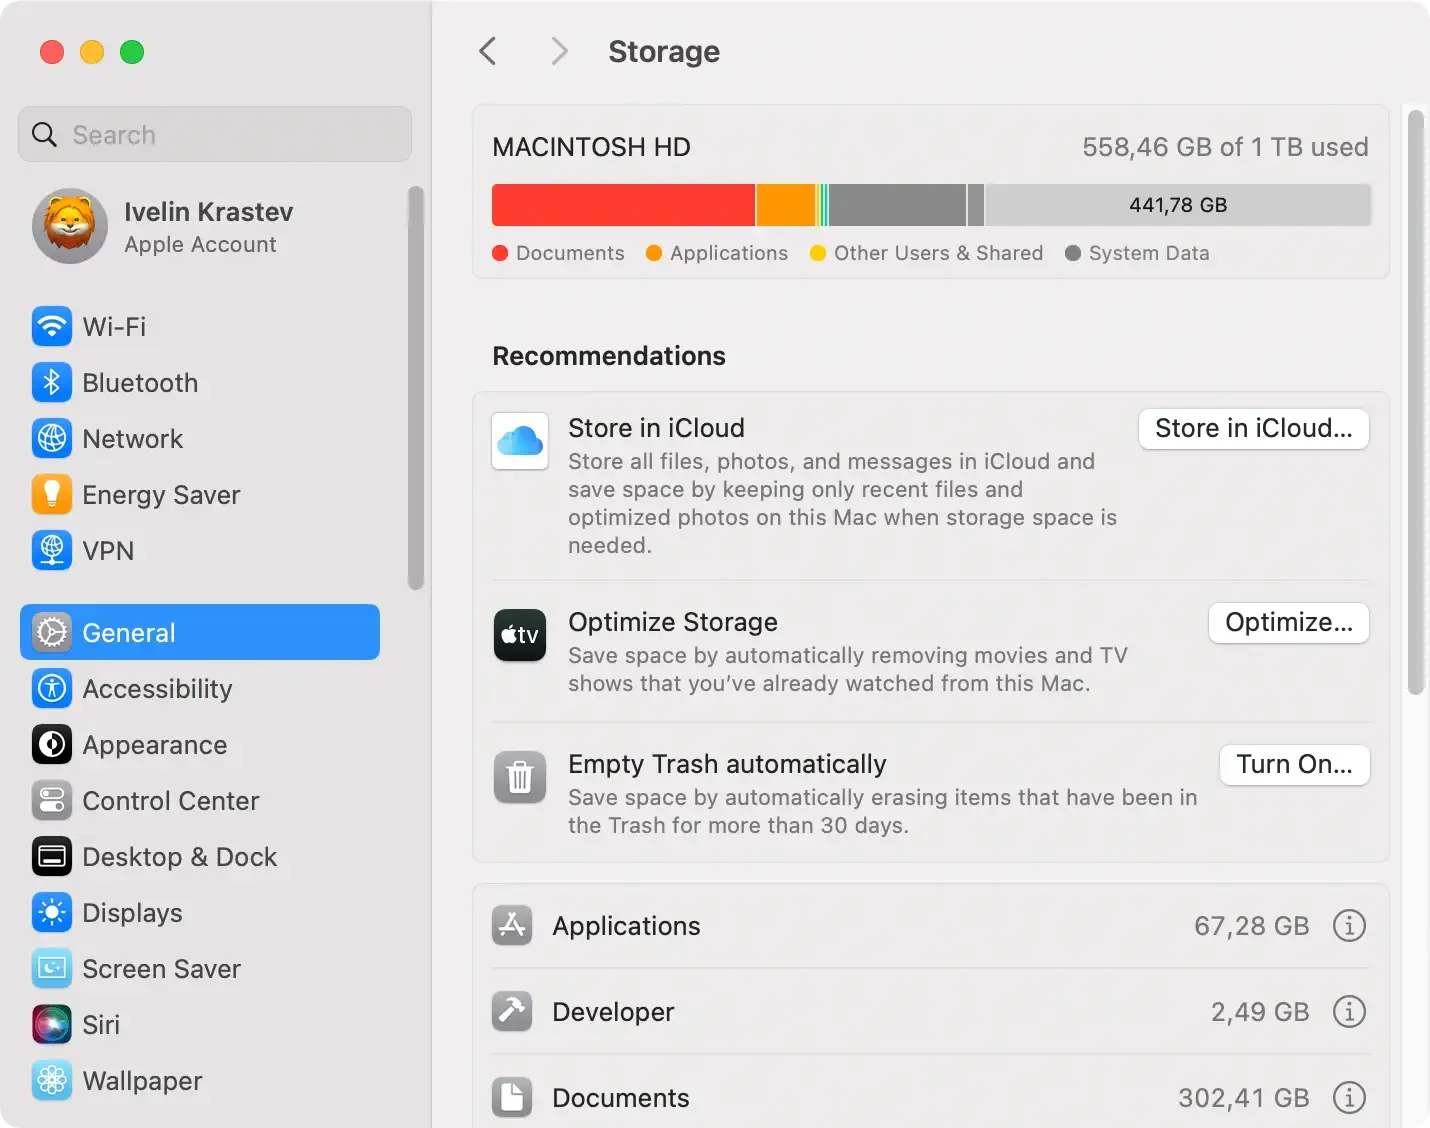
- Check System Storage: Open
System Settings > General > Storageand review the system data usage.
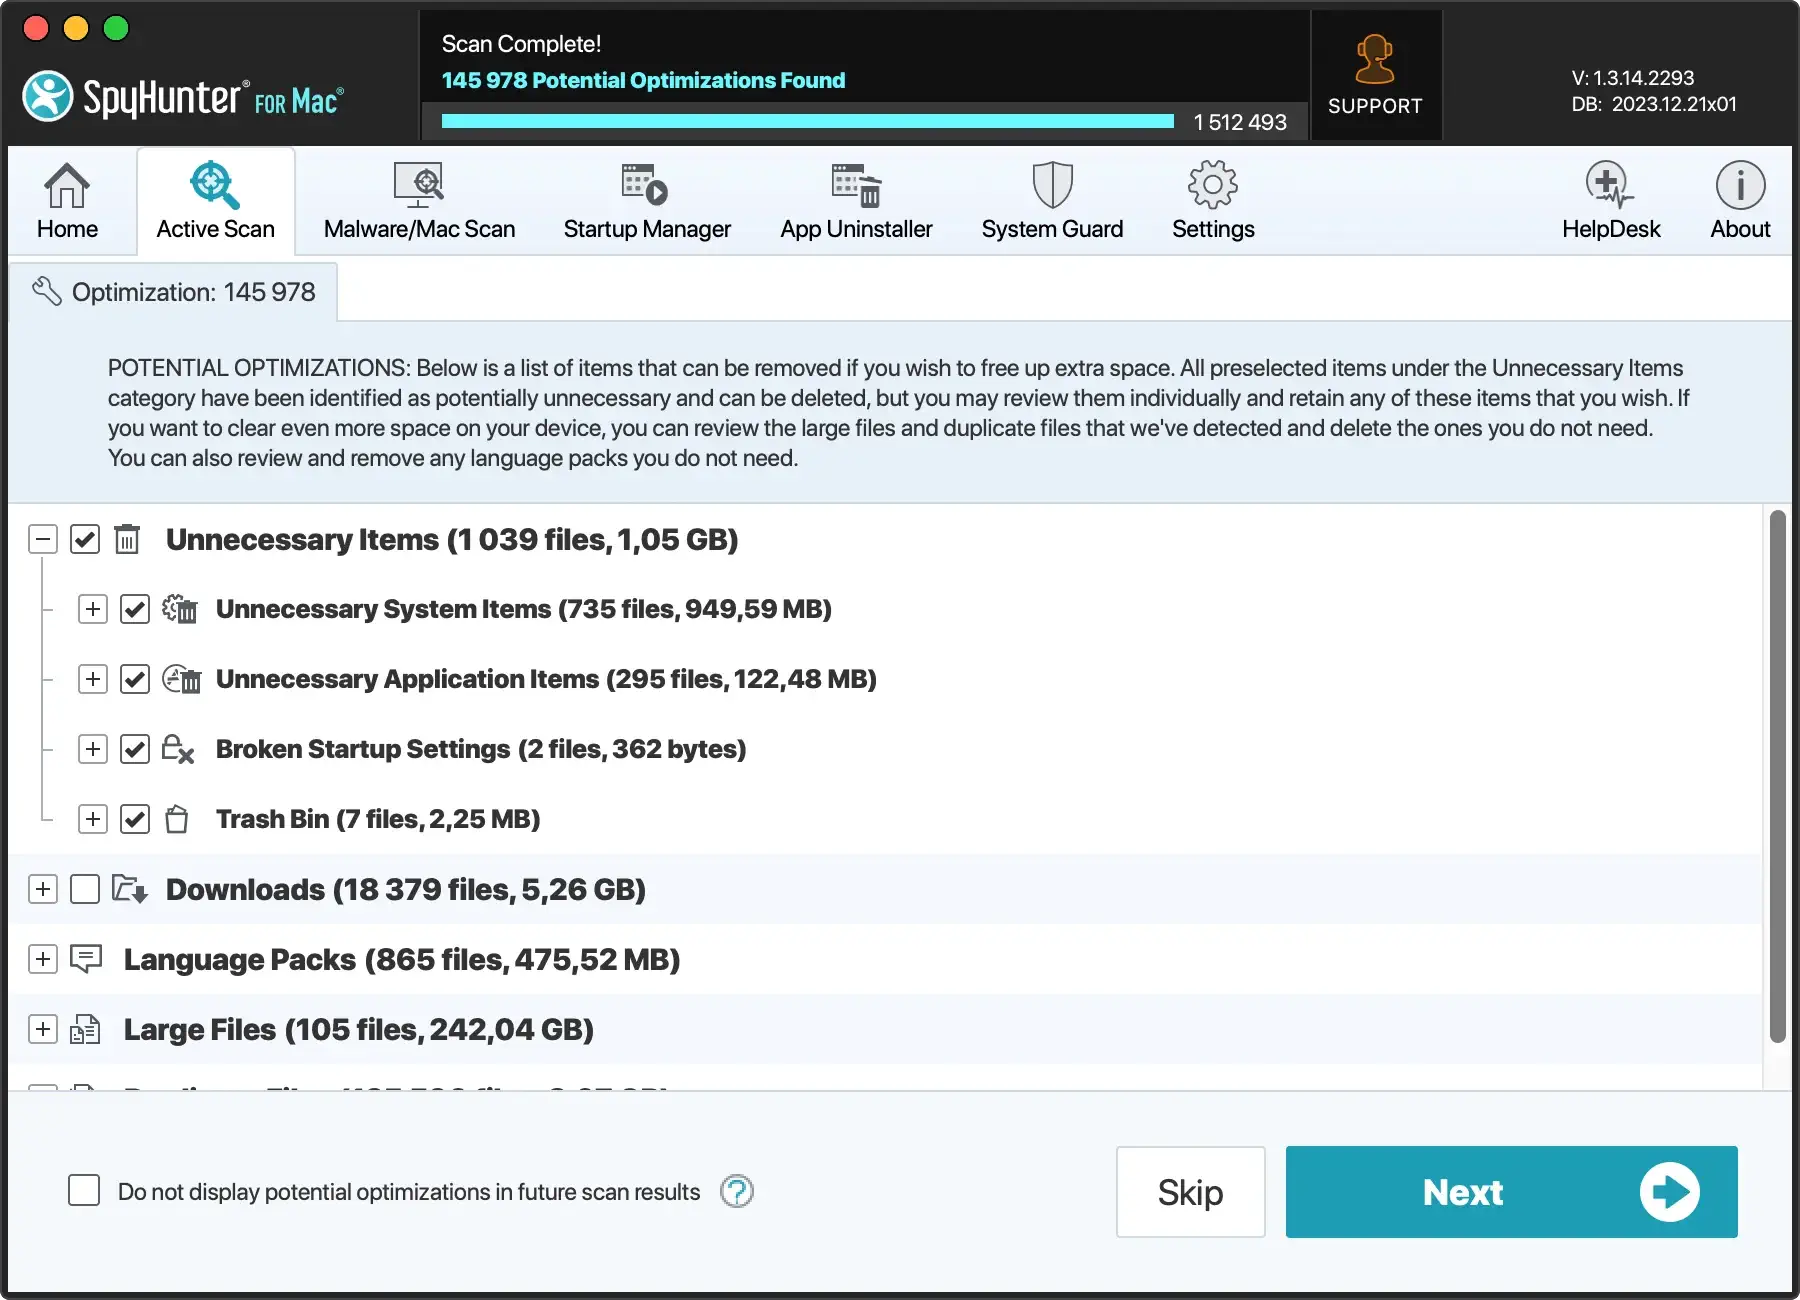
- Remove Junk Files: Clear unnecessary files and temporary data that might be clogging up your Mac’s storage. Finding and deleting large files on your Mac is an efficient way to free up space quickly. For a faster solution, you can use SpyHunter to scan your device for these files. SpyHunter helps identify and remove junk files, duplicates, and other unnecessary data, making it easier to optimize your disk space.
Download SpyHunter, install it, and clear unnecessary clutter.
By managing your disk space efficiently and ensuring Spotlight is indexing correctly, you can prevent future drive space-related issues.
These methods should help you resolve any Spotlight issues in macOS Sequoia, whether it’s causing performance issues or consuming excessive disk space.
If the problem persists, it might be worth checking for additional macOS Sequoia updates or contacting Apple Support for further assistance.