How To Uninstall Android Studio On Mac (Ultimate Guide)
Before we dive in
Trying to uninstall an app completely? SpyHunter for Mac includes an App Uninstaller that removes unwanted apps and their leftover files in just a few clicks.
Avoid clutter and save time — download SpyHunter right here and follow the steps to clean up your system.
Are you thinking of uninstalling Android Studio from your Mac device?
Whether it’s to free up storage or because you’re moving away from Android development, removing Android Studio can improve your Mac’s performance.
This guide will walk you through efficiently deleting Android Studio on Mac, helping you streamline your system for better operation.
Let’s get started!
Reasons to uninstall Android Studio from your Mac
Removing Android Studio from your Mac can be beneficial for several reasons:
- Space Optimization: Android Studio, with its sizable SDKs and emulators, occupies substantial disk space that could be used for other applications or data.
- Improved Performance: Removing this resource-intensive software can enhance your Mac’s performance, especially if you’re experiencing slowdowns.
- Software Compatibility: Eliminating older versions of the app reduces the risk of conflicts with other programs, ensuring smoother operation.
- Changing Development Needs: If you no longer focus on Android app development, uninstalling Android Studio declutters your workspace and simplifies your toolset.

Handling these points by removing Android Studio can lead to a more efficient, streamlined computing experience on your Mac.
Uninstall Android Studio manually from your Mac
Removing Android Studio from your Mac involves a few detailed steps to ensure the application and all its associated data are entirely eradicated.
This process helps free up space and keeps your system running smoothly.
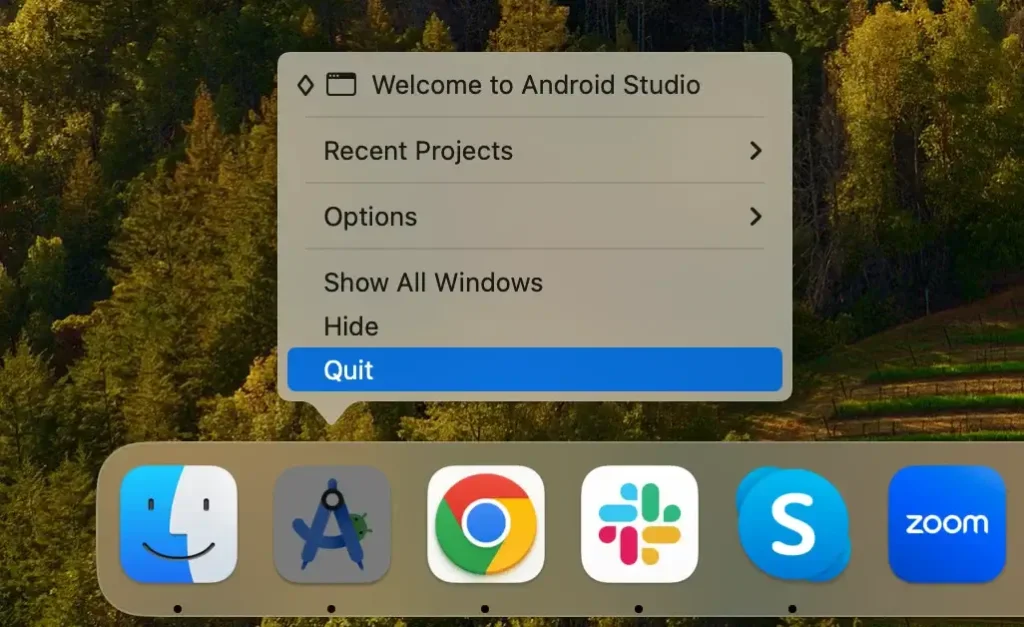
Step 1: Quit Android Studio
Before you begin the uninstallation process, ensuring that the app is not running is crucial.
Look for the Android Studio’s icon in the Dock. A dot underneath indicates it’s open. Right-click on the app icon in the Dock and select Quit from the dropdown.
If the application is unresponsive, you may need to force quit it. Open Activity Monitor and locate any processes related to Android Studio. Select them and click the [X] button at the top to quit the process.

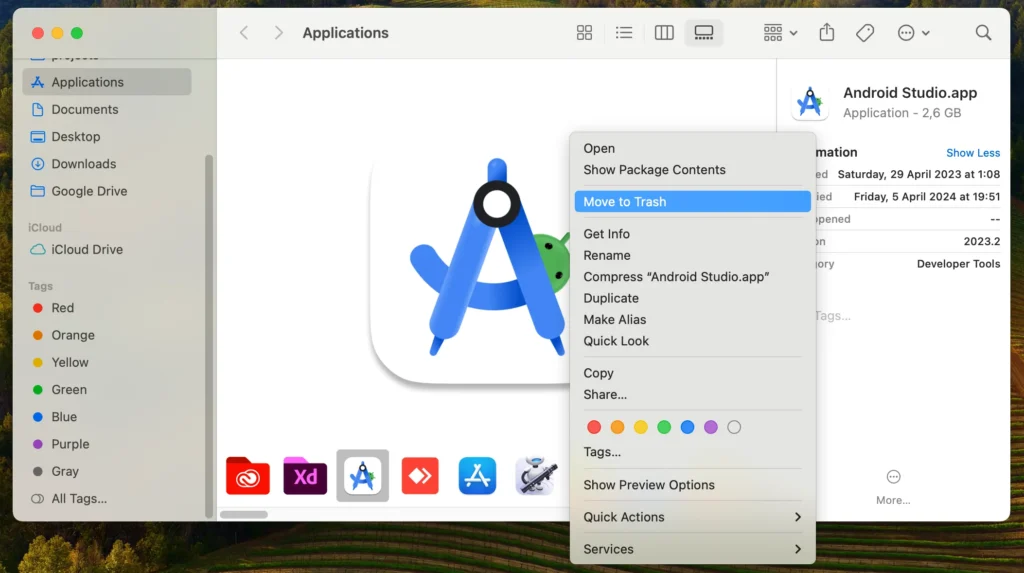
Step 2: Remove the Android Studio app
With Android Studio closed, you can now remove the application itself:
- Access Finder from the Dock to start the removal process.
- Find and click on the
Applicationsfolder in the sidebar. - Scroll to find the application. Right-click (or control-click) and select
Move to Trashfrom the contextual menu. - Empty the Trash to remove the Android SDK permanently. You may be prompted to confirm this action.
Step 3: Delete Android Studio-related files and folders
After uninstalling the Android Studio app, it’s essential to delete any remaining files and folders:
- In Finder, click on
Goin the menu bar, press and hold theOptionkey, and selectLibrarythat appears in the dropdown. - Navigate to each of the folders below:
~/Library/Preferences/~/Library/Application Support/~/Library/Logs/~/Library/Caches/
- Look for any folders or files related to the Android SDK and move them to the Trash.
- After moving all related items to the Trash, empty it to ensure these files are permanently deleted from your Mac.

Step 4: Remove Gradle-related files
Including the removal of Gradle files as a distinct step in the manual removal process ensures that your uninstallation of Android Studio is comprehensive.
Gradle files can consume considerable space and are integral to projects built with Android SDK, so their removal is crucial for a complete cleanup.
After deleting the app, follow these instructions to remove the Gradle files from your Mac:
- Open a new Finder window.
- Toggle the visibility of hidden files by pressing
Command + Shift + .(dot) on your keyboard. - In Finder, click
Goin the menu bar, then selectGo to Folderand type~/.gradlein the search bar that appears. PressGoto open the folder. - Once you’re in the
.gradlefolder, you can drag the folder to the Trash or right-click (control-click) on it and chooseMove to Trashfrom the context menu. - Empty the Trash to remove the Gradle files from your Mac permanently.
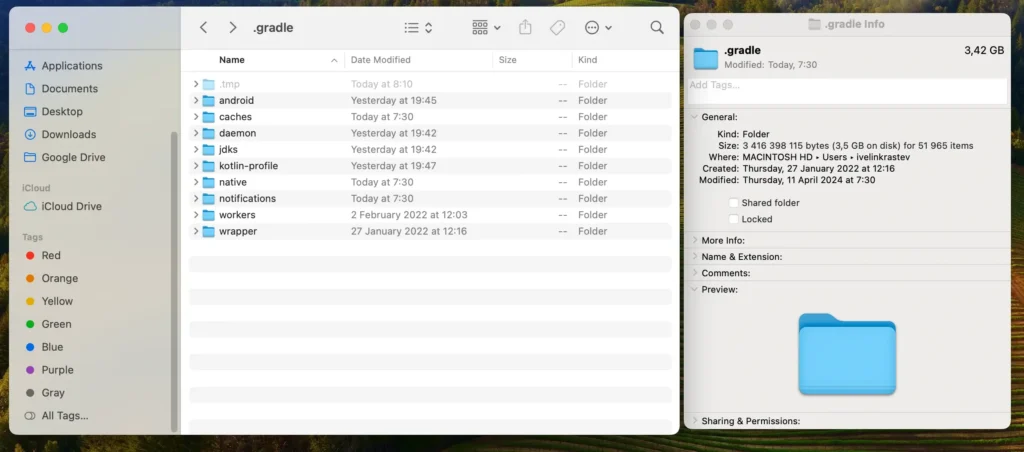
This step effectively removes all Gradle-related data, including Android Studio’s caches, wrappers, and other settings stored by the app.
Completing these steps ensures that Android Studio and all its components are thoroughly removed from your Mac, helping to maintain a clean and optimized system.
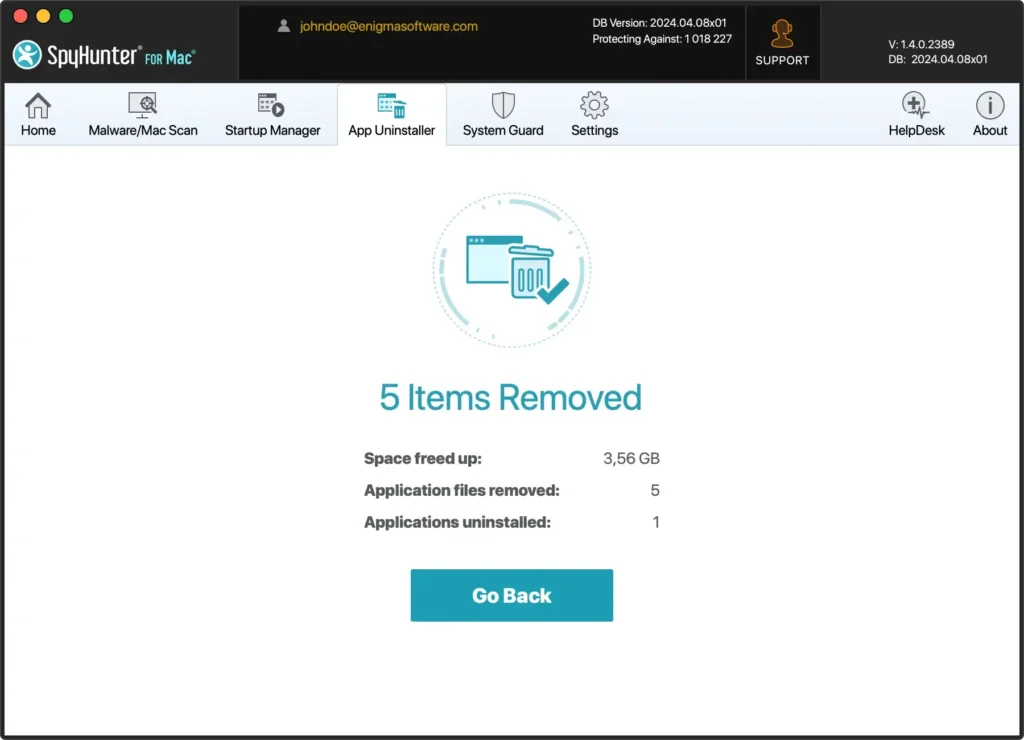
Completely uninstall Android Studio with SpyHunter
For a thorough and streamlined approach to removing Android Studio from your Mac, leveraging a tool like SpyHunter can simplify the process significantly.
SpyHunter’s App Uninstaller is designed to efficiently detect and eliminate the primary application and any lingering files or configurations related to Android Studio, ensuring a clean and comprehensive uninstallation.

Here’s how to use SpyHunter to remove Android Studio:
- Download SpyHunter from here and follow the prompts on your screen to install the app on your Mac. You might need to enter your administrator password to authorize the installation.
- Once installed, open SpyHunter and navigate to the App Uninstaller tab, initiating an automatic application scan.
- After the scan, SpyHunter will list all the installed apps. Locate Android Studio and select it for removal.
- Follow SpyHunter’s prompts to eliminate Android Studio from your Mac.
By utilizing SpyHunter to uninstall Android SDK from your Mac, you benefit from an in-depth cleaning that manual uninstallation might miss. This ensures your system is free from Android Studio and remains optimized and secure, ready for whatever development tools or applications you choose to use next.
Use Terminal to remove Android Studio
Users comfortable with Terminal can efficiently delete Android Studio with command-line instructions.
Note: This approach suits advanced users seeking a quick and thorough uninstallation.
To remove Android Studio and its associated files through Terminal, follow these steps:
- Open
Terminal - Carefully type each of the following commands into the
Terminalwindow, pressingReturnafter each to execute them:rm -rf /Applications/Android\ Studio.apprm -rf ~/Library/Preferences/AndroidStudio*rm -rf ~/Library/Preferences/com.google.android.*rm -rf ~/Library/Preferences/com.android.*rm -rf ~/Library/Application\ Support/AndroidStudio*rm -rf ~/Library/Logs/AndroidStudio*rm -rf ~/Library/Caches/AndroidStudio*rm -rf ~/.gradle
By following these commands, you ensure the comprehensive removal of Android Studio from your Mac OS, including the main application and all the files scattered across your Mac.
This method offers a direct and effective way to declutter your device and reclaim space, contributing to a smoother and more responsive computing experience.
Conclusion
Congratulations, you have successfully uninstalled Android Studio from your Mac! You have freed up valuable disk space and enhanced your system’s performance by removing unused and resource-intensive software.
Whether you choose the manual method, utilize Terminal for a more direct method, or employ SpyHunter for a thorough cleanup, the end goal is a streamlined and efficient computing environment.
This step simplifies your workspace, allowing you to focus on tools and applications that best suit your current projects and workflow.