How To Uninstall Sourcetree On Mac (Complete Guide)
Before we dive in
Trying to uninstall an app completely? SpyHunter for Mac includes an App Uninstaller that removes unwanted apps and their leftover files in just a few clicks.
Avoid clutter and save time — download SpyHunter right here and follow the steps to clean up your system.
Are you considering uninstalling Sourcetree from your Mac?
Whether you want to streamline your development tools or transition to a new version control system, this guide will help you remove Sourcetree and all its associated files.
Follow these straightforward steps to ensure your Mac remains clean and optimized, allowing you to maintain or enhance your development workflow efficiently.
Let’s get started!
Reasons to remove Sourcetree from your MacOS
Uninstalling Sourcetree from your Mac can be driven by various practical considerations, each tailored to your unique development needs or system preferences.
Here are some common reasons why developers choose to remove Sourcetree:
- Performance Issues: The app can sometimes slow down your system, especially if you’re managing large repositories or multiple projects.
- Switching to a New Tool: With numerous Git clients available, you might find another tool that better fits your workflow.
- Simplifying Your Development Setup: If you’re moving towards a more minimalistic setup or prefer using the command line for version control.
- Redundancy and Lack of Use: If Sourcetree is no longer used frequently, it might take up valuable space that other applications could utilize better.
- Technical Issues or Bugs: Ongoing bugs or compatibility issues with the latest macOS updates can also prompt the removal of Sourcetree.

Understanding these reasons can help you decide whether to keep Sourcetree or remove it, ensuring that your development tools align closely with your needs and contribute positively to your productivity.
Completely uninstall Sourcetree on Mac using SpyHunter
For a comprehensive removal of Sourcetree from your Mac, leveraging the App Uninstaller feature in SpyHunter ensures no remnants are left behind.
Here’s how to use SpyHunter to uninstall Sourcetree thoroughly:
- Download SpyHunter from here and follow the instructions to install the program on your device.
- Open SpyHunter and navigate to the App Uninstaller tab. This action will automatically initiate a scan of all installed applications and their related entities.
- From the list of applications, find Sourcetree. Check it and any associated entities SpyHunter identified to ensure a thorough cleanup.
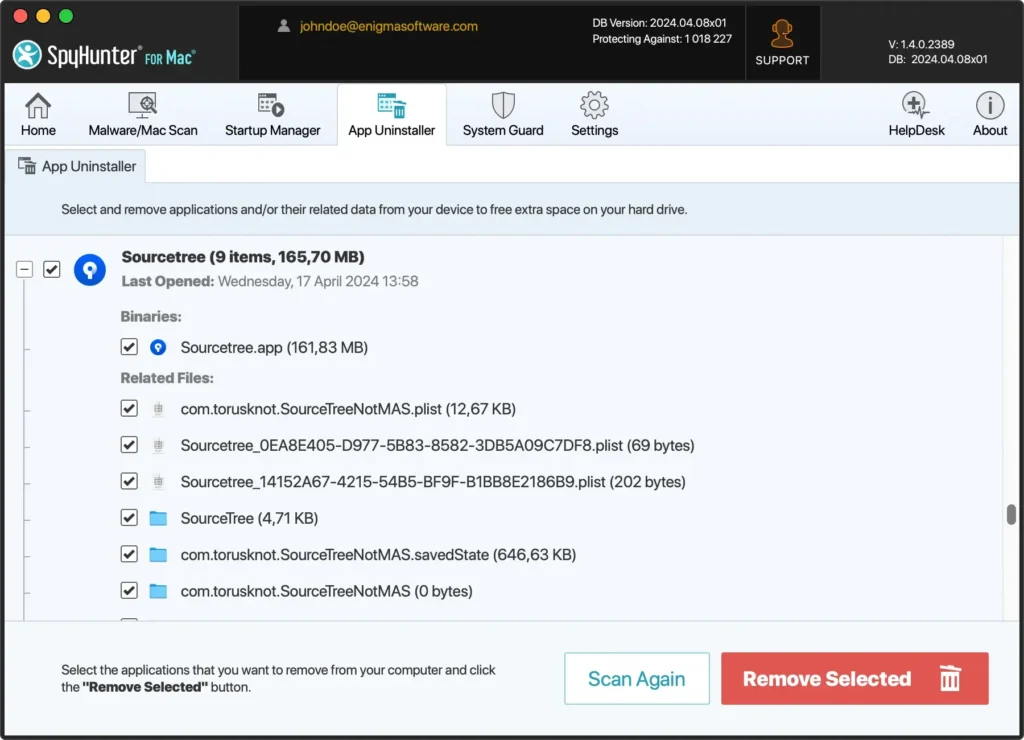
- With Sourcetree and its related files selected, proceed to uninstall them by following the on-screen prompts provided by SpyHunter. This process will remove Sourcetree from your system entirely.
- After the uninstallation, restarting your device to finalize the removal process is recommended.
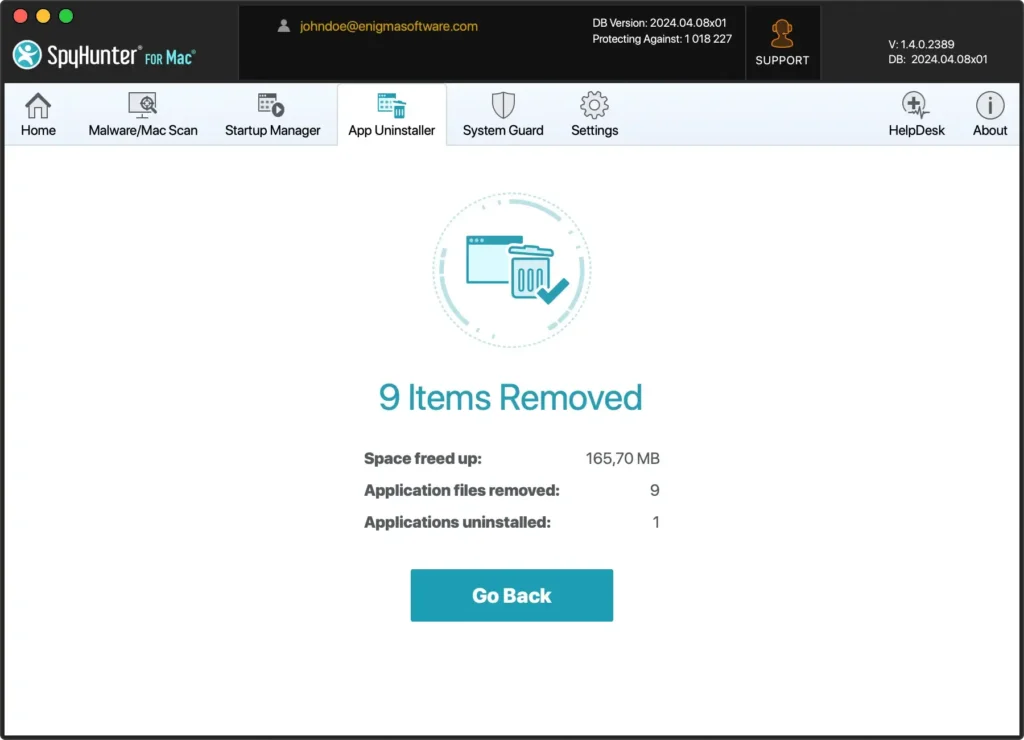
Using SpyHunter’s App Uninstaller feature simplifies removing Sourcetree, ensuring all components are effectively eradicated from your computer.
This method benefits users seeking a hassle-free solution to maintain their file system’s cleanliness and performance.
Uninstall Sourcetree on Mac manually
Manually uninstalling Sourcetree from your macOS ensures that the application and its associated folders are entirely removed, freeing up space and potentially resolving performance issues.
Follow these steps for a thorough manual uninstallation:
Step 1: Quit the Sourcetree app
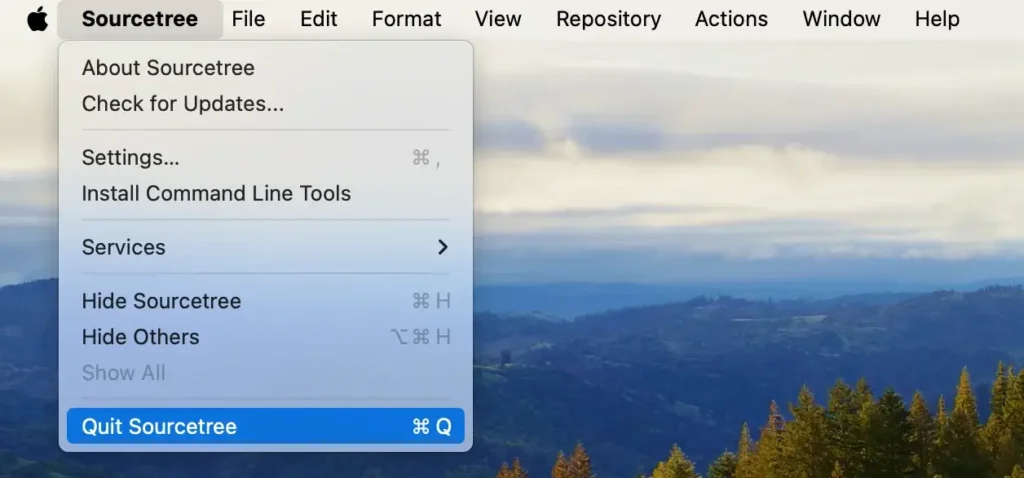
Before uninstalling, make sure Sourcetree is not running.
Open Sourcetree. In the top menu bar, click on Sourcetree, then select Quit Sourcetree to close the application.
If the program is not responsive, you must force quit it. Open Activity Monitor from Applications > Utilities and type “Sourcetree” in the search bar to locate active processes.
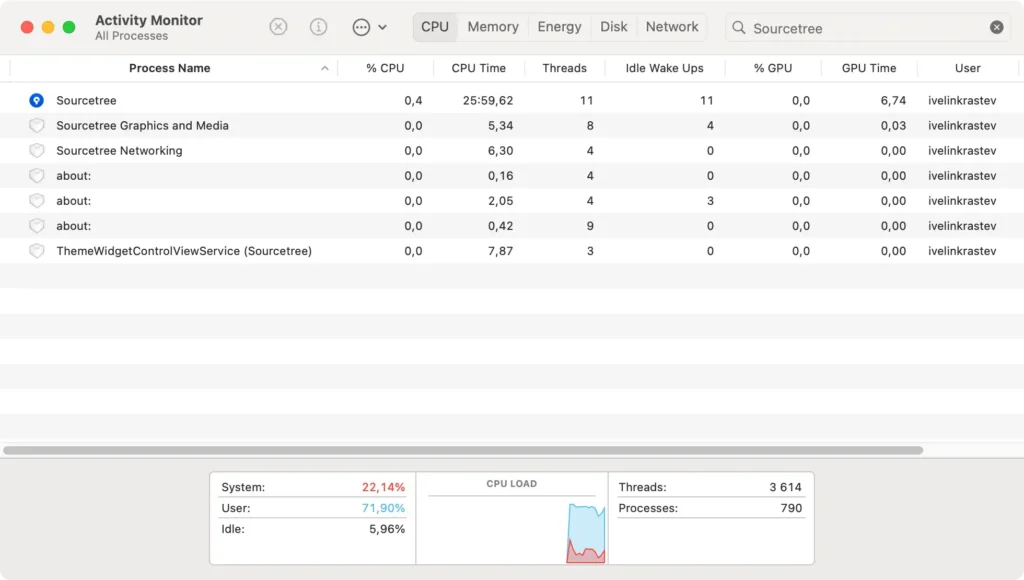
If you find any, select them and click the [X] button at the top left of the window, then click Force Quit to close them completely.
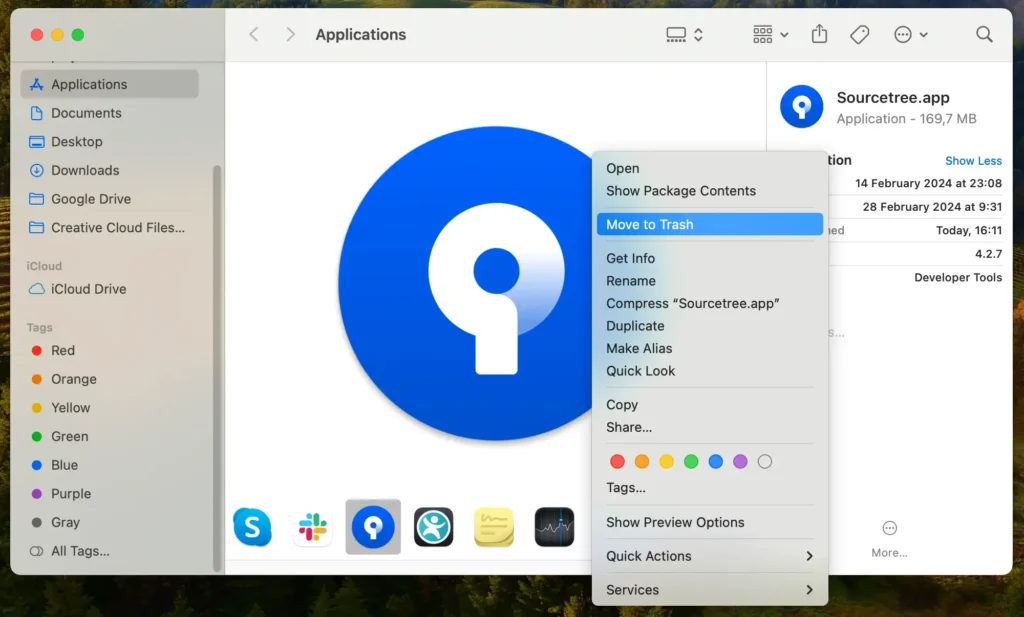
Step 2: Remove the Sourcetree application
After ensuring the app is not running, proceed to remove it from your system:
- Open Finder and go to the
Applicationsfolder. - Scroll through the applications list or use the search bar at the top right of the window to locate Sourcetree.
- Drag the application to the Trash, or right-click the Sourcetree icon and select
Move to Trashfrom the contextual menu.
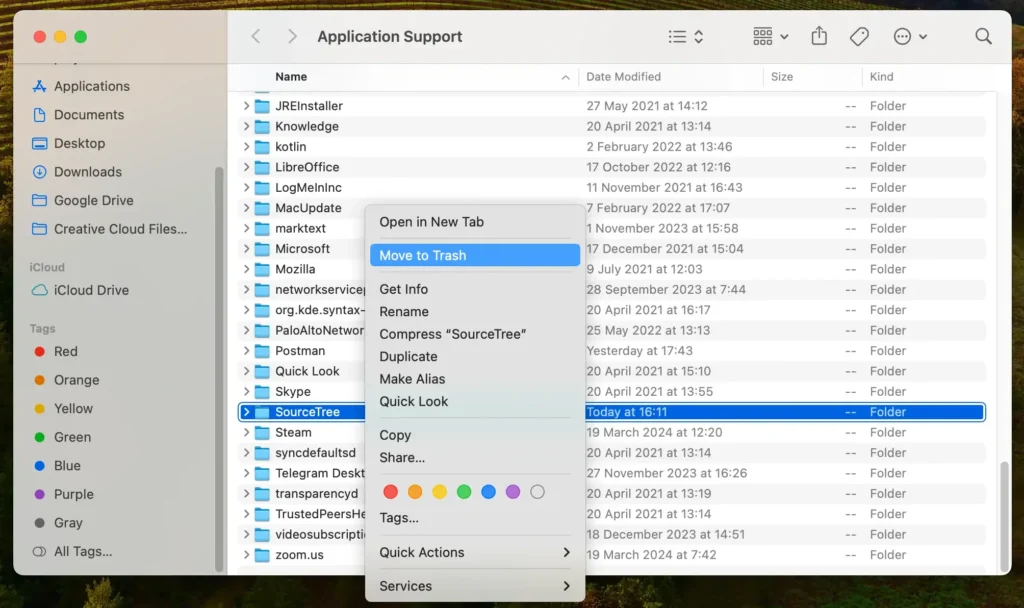
Step 3: Delete files and folders related to Sourcetree
To complete the uninstallation, remove any residuals:
- Open Finder again, click
Goin the menu bar, and then selectGo to Folderfrom the dropdown menu. - Enter the Paths and delete each Sourcetree-related item:
~/Library/Application Support/Sourcetree/~/Library/Preferences/com.torusknot.SourceTreeNotMAS.plist~/Library/Caches/com.torusknot.SourceTreeNotMAS/~/Library/Logs/com.torusknot.SourceTreeNotMAS/
- Right-click on the Trash icon in the dock and select
Empty Trashto permanently delete these entities.
These steps will effectively uninstall Sourcetree from your Mac, including the application and every associated file and folder.
Conclusion
Congratulations, you have successfully uninstalled Sourcetree from your Mac!
By removing this application and its associated files, you’ve taken an essential step towards optimizing your system’s performance and decluttering your digital workspace.
For more insights and tips on effectively managing your applications, our comprehensive post on how to uninstall a Mac program can further assist you in maintaining an efficient and secure system.
Thank you for following this guide, and may your development endeavors be seamless and productive with your newly organized setup.