How To Uninstall Skype On Mac (Complete Removal Guide)
Before we dive in
Trying to uninstall an app completely? SpyHunter for Mac includes an App Uninstaller that removes unwanted apps and their leftover files in just a few clicks.
Avoid clutter and save time — download SpyHunter right here and follow the steps to clean up your system.
Are you wondering how to remove Skype from your Mac? This article provides a step-by-step process for completely removing Skype and its residues from your system.
Uninstalling Skype from your Mac can streamline your system, address privacy concerns, and free up valuable disk space.
Whether you’re moving to a different communication platform or looking to boost your Mac’s performance, this guide provides a straightforward approach to removing Skype effectively. Let’s dive in:
Reasons to uninstall Skype from your Mac
Various reasons can drive you to uninstall Skype from your Mac, each pointing towards optimizing your computing experience.
Here are some key factors:
- Performance Improvement: Skype Desktop can consume significant system resources, leading to slower Mac performance.
- Privacy Concerns: Some users may be disturbed by Skype’s privacy and data-sharing policies.
- Space Liberation: Skype and its cache and related files occupy valuable disk space.
- Alternatives: With the availability of numerous communication platforms, you might find another service that better meets your needs.
- Usage Frequency: If Skype is seldom used or you primarily communicate through other channels, uninstalling it can simplify your application landscape.

These reasons can help you decide whether removing Skype aligns with your goal of a streamlined, efficient, and secure Mac experience.
How to uninstall Skype on Mac manually
Removing Skype from your Mac might seem straightforward, but ensuring all its associated files are gone requires effort.
This guide will walk you through the process, ensuring that Skype is completely removed from your system.
Step 1: Quit Skype
Before proceeding with the uninstallation process, ensuring that Skype is not running on your Mac is crucial. Here’s how to quit Skype properly:
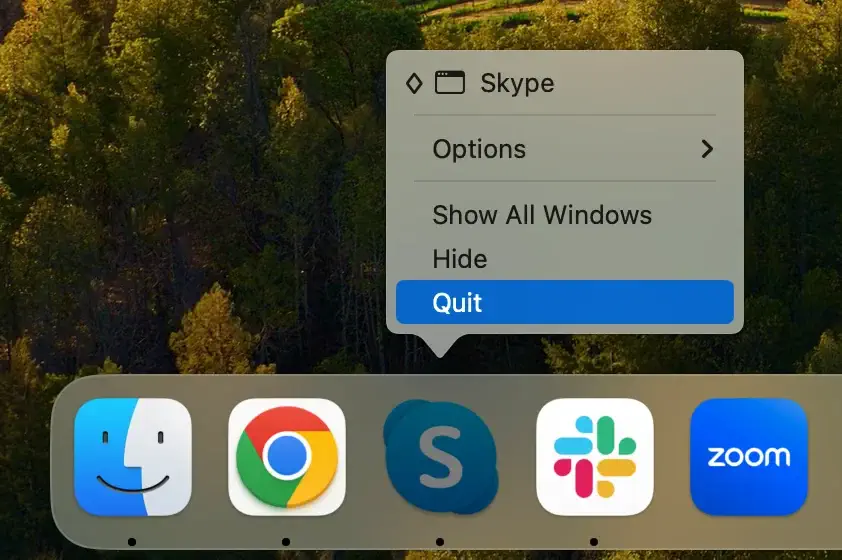
Quit via Dock: Look for the Skype icon in the Dock. If you see a dot beneath the icon, it means Skype is currently open. Right-click (or control-click) on the Skype icon in the Dock, then select Quit from the contextual menu that appears.
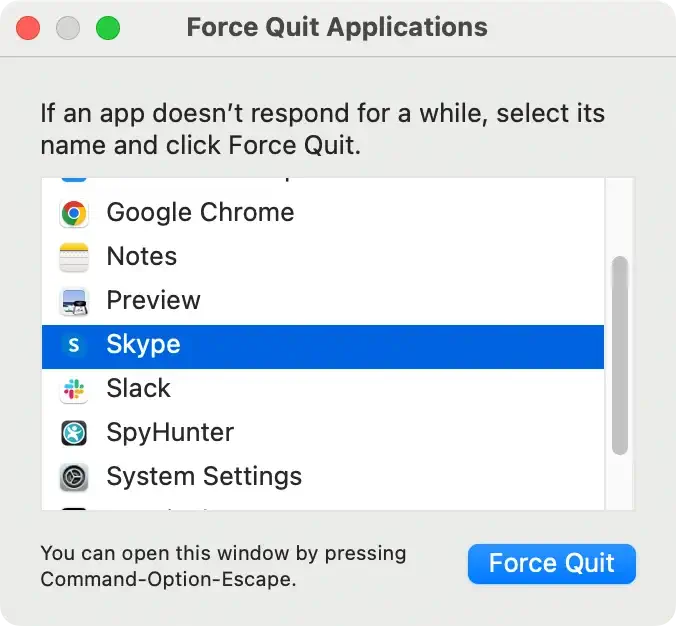
Force Quit (if necessary): If Skype doesn’t quit normally, you may need to force quit. Press Command + Option + Esc to open the Force Quit Applications window, select Skype from the list, and click the Force Quit button.
Verify Closure: To ensure Skype is completely shut down, open Activity Monitor and type “Skype” into the search bar. If any processes are still running, select them and click the “X” at the top of the window to quit them

Ensuring that Skype is fully closed before moving on to the next steps is essential for a smooth and effective uninstallation process.
Step 2: Remove the Skype app
Once you’ve confirmed that Skype is not running, the next step is to remove the application from your Mac.
- Open Finder: Click the Finder icon to open a new Finder window.
- Navigate to Applications: In the Finder sidebar, click
Applicationsto view all the apps installed on your Mac. - Locate Skype: Scroll through your applications folder or use the search function in Finder to find Skype Desktop.
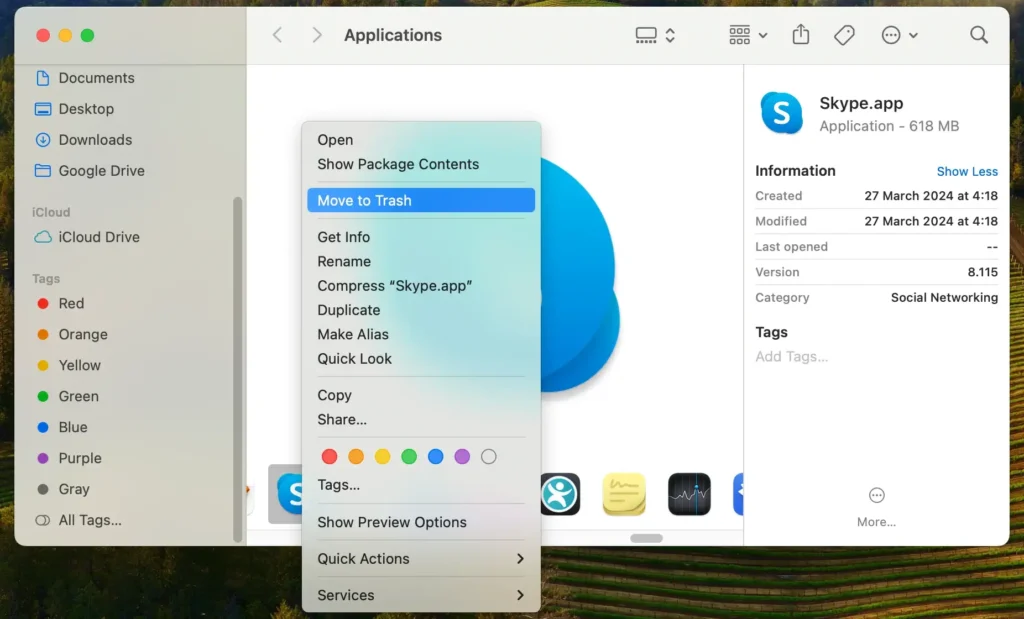
- Move to Trash: Drag the Skype application to the Trash bin in your Dock, or right-click (control-click) on Skype and choose
Move to Trashfrom the drop-down menu. - Empty Trash: Right-click on the Trash bin and select
Empty Trashto remove Skype from your Mac permanently. Confirm the action if prompted.
Step 3: Delete Skype files and leftovers
Removing the Skype application doesn’t eliminate all associated files and settings.
Follow these steps to clean up leftover files:
- Open Finder, click
Goin the menu bar, hold down theOptionkey, and clickLibraryto access the hiddenLibraryfolder. - Navigate to
~/Library/Application Support/and look for any folders or files named “Skype” or associated with the application. Drag them to the Trash. - Go to
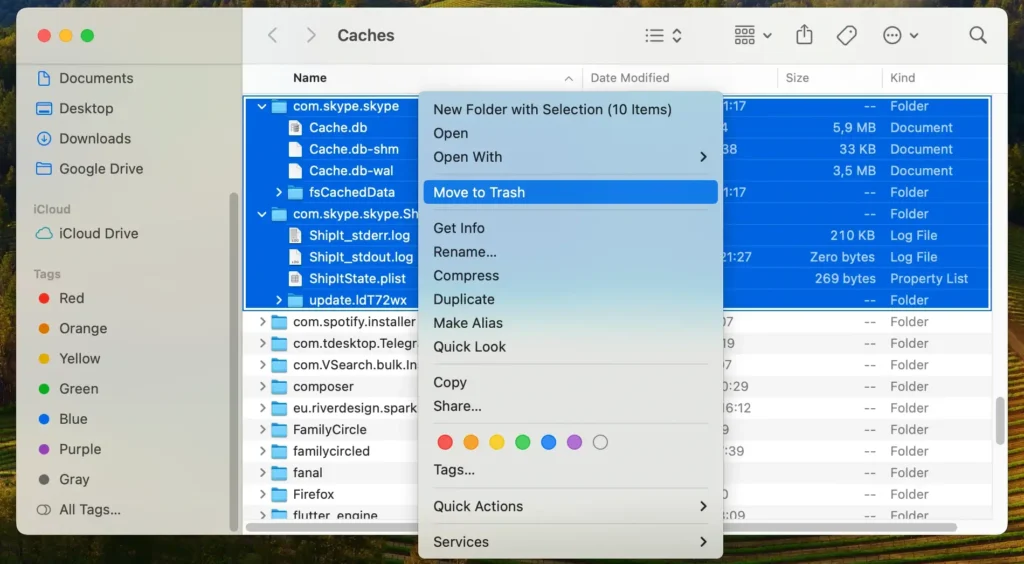
~/Library/Cachesand search for any folders or files related to Skype. Move them to the Trash. - In the Library folder, find
~/Library/Preferencesand remove any files starting with com.skype.skype by dragging them to the Trash. - Look in other
Librarysubfolders, such as~/Library/Logsand~/Library/Saved Application Statefor any Skype-related files and remove them. - After locating and moving each Skype folder or file to the Trash, right-click on the Trash bin and select
Empty Trashto delete these files permanently.
By following these steps to remove the Skype app and delete all related files and leftovers, you ensure a comprehensive manual removal of Skype from your Mac, freeing up space and potentially improving your system’s performance.
Completely uninstall Skype with SpyHunter
For a thorough and hassle-free removal of Skype from your Mac, utilizing a professional tool like SpyHunter can streamline the process.
SpyHunter is a reputable anti-malware software with an App Uninstaller feature, expertly designed to detect and remove both applications and their related files.

Here’s how to use SpyHunter to uninstall Skype completely:
- Download SpyHunter for free here and follow the on-screen instructions to install SpyHunter on your Mac. You might need to enter your administrator password to authorize the installation.
- Launch SpyHunter and navigate to the App Uninstaller tab, initiating an automatic application scan.
- After the scan, SpyHunter will display a list of detected apps. Find Skype in the list of installed applications and select it for removal.
- Some removal processes may require a restart to complete. If prompted, restart your Mac to finalize the uninstallation of Skype.
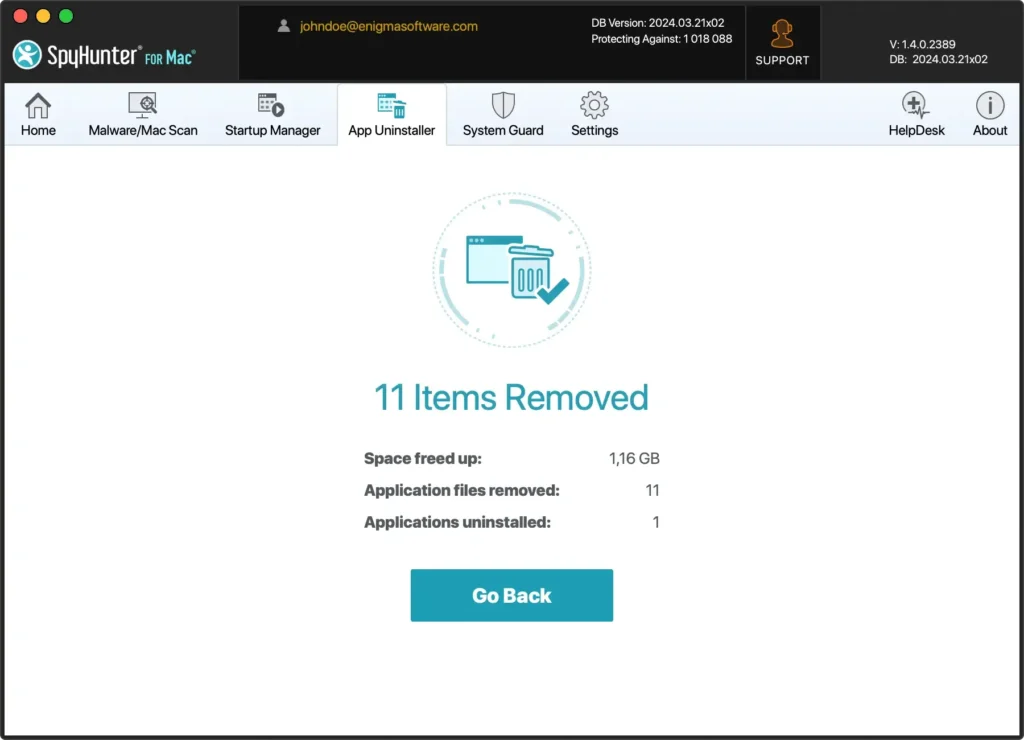
By following these steps with SpyHunter, you ensure the complete removal of Skype and enhance your Mac’s overall security and performance, making it a valuable tool for maintaining a clean and efficient system.
Reinstalling Skype on Mac
When you find yourself at a crossroads, needing to give the app a fresh start, reinstalling Skype can be the solution you’re looking for.
Whether it’s due to performance issues, a failed update, or a general cleanup, getting a clean install of Skype can help ensure it runs smoothly.
This guide will walk you through downloading and reinstalling Skype, ensuring you return to your call, chat, and meeting habits with minimal fuss.
- Download the app: Visit the official Skype website and download the latest version tailored to Mac OS.
- Open the downloaded installer: Locate the installer file and open it.
- Follow the installation prompts: Complete the installation by following the installer’s instructions.
- Launch the app: Once installed, open Skype in your Applications folder or Launchpad to begin setup or login.
Remember, if you’re concerned about the security of your computer before, during, or after you reinstall Skype, consider using SpyHunter.
It’s a powerful tool to protect your computer from malware and other security threats, ensuring your conversations and data remain safe.
Final thoughts
Congratulations, you have successfully navigated the uninstalling of Skype on your Mac!
This journey may have started from a place of necessity. However, the end goal is always the same: ensuring a smooth-running application connects you with your contacts efficiently.
Remember, while incredible in its capacity to keep us linked across vast distances, technology can sometimes stumble.
When it does, knowing how to address these minor setbacks alone can save time and the potential frustration of interrupted communications.